Administrateur système, intégrateur
Installer EAS sur le serveur
Comment installer le logiciel EAS sur un serveur déjà prêt : Ubuntu, Astra Linux SE 1.8 ou Windows Server. Première connexion et activation.
- 1
D’abord l’OS — puis EAS
Ce guide concerne l’installation de l’application EAS, pas du système d’exploitation. Le serveur doit déjà avoir : Ubuntu Server 22.04+ (voie principale), Astra Linux SE 1.8 (bêta ouverte) ou Windows Server avec bureau. EAS n’installe pas Ubuntu, Astra ou Windows à votre place — choisissez l’OS, préparez le matériel et le réseau, puis installez EAS avec la commande ou l’assistant ci-dessous.
Tip: Minimum pilote : 2 cœurs, 4 Go RAM, 80 Go SSD (jusqu’à ~8 caméras). Sites plus grands : /docs/server-sizing/. IP statique, port 8000, les panneaux ACS doivent joindre le serveur.
- 2
Obtenir la clé d’essai
Sur la page d’essai (/download/) indiquez un e-mail pro et l’OS du serveur. La clé arrive par e-mail : 30 jours sur Ubuntu, 90 sur Astra ou Windows. Conservez-la — activation dans l’admin après installation.
Tip: Aperçus OS : /ubuntu/, /astra/, /windows/. Téléchargements : /download/, /download/astra/, /download/windows/.
- 3
Ubuntu — une commande
On already installed Ubuntu 22.04+, run the command below — or download the script / package from the links. The script pulls the current bundle from the hub, installs the database, eas-server, optional Home Assistant, and the setup wizard. Typically 30 minutes to 2 hours. Do not run this on Astra or Windows.
- Download Ubuntu install script (.sh)
- Download EAS package (.tar.gz), online
- Télécharger le fat hors ligne Linux/Astra (.tar.gz)
- Ubuntu trial page — key and command
curl -fsSL https://asceas.ru/eas-hub/install/install-eas-from-hub.sh | sudo EAS_ACCEPT_EULA=1 bash -s -- --accept-eula
Tip: Without Home Assistant add `--without-ha`. The lean `.tar.gz` is online (OS mirrors / PyPI). Offline fat (no PyPI): download below, unpack, `sudo bash install-eas-from-offline.sh --accept-eula` (OS apt mirrors still needed).
- 4
Astra Linux SE 1.8 — installateur séparé
On already installed Astra Linux SE 1.8, use only the Astra command or script. The Ubuntu script on Astra breaks system mirrors — do not use it. Astra trial is 90 days.
- Download Astra install script (.sh)
- Download EAS package (.tar.gz), online
- Télécharger le fat hors ligne Linux/Astra (.tar.gz)
- Astra trial page — key and command
curl -fsSL https://asceas.ru/eas-hub/install/install-eas-astra-from-hub.sh | sudo EAS_ACCEPT_EULA=1 bash -s -- --accept-eulaTip: Online: Astra script only. Offline fat is shared with Ubuntu — after unpack run `install-eas-from-offline.sh` (includes deploy/astra). Page: /download/astra/.
- 5
Windows Server — setup.exe
On already installed Windows Server (with GUI), download the installer using the links below or from the Windows trial page. Run the wizard, wait for EAS services, then open http://localhost:8000/admin.
- Download setup.exe (setup wizard)
- Download offline ZIP (no internet on the server)
- Windows trial page — key and both links
Tip: No internet on the server — use the offline ZIP. Normal GUI path — setup.exe. Linux curl does not apply on Windows. Trial — 90 days. Also: /windows/.
- 6
Première connexion à l’admin EAS
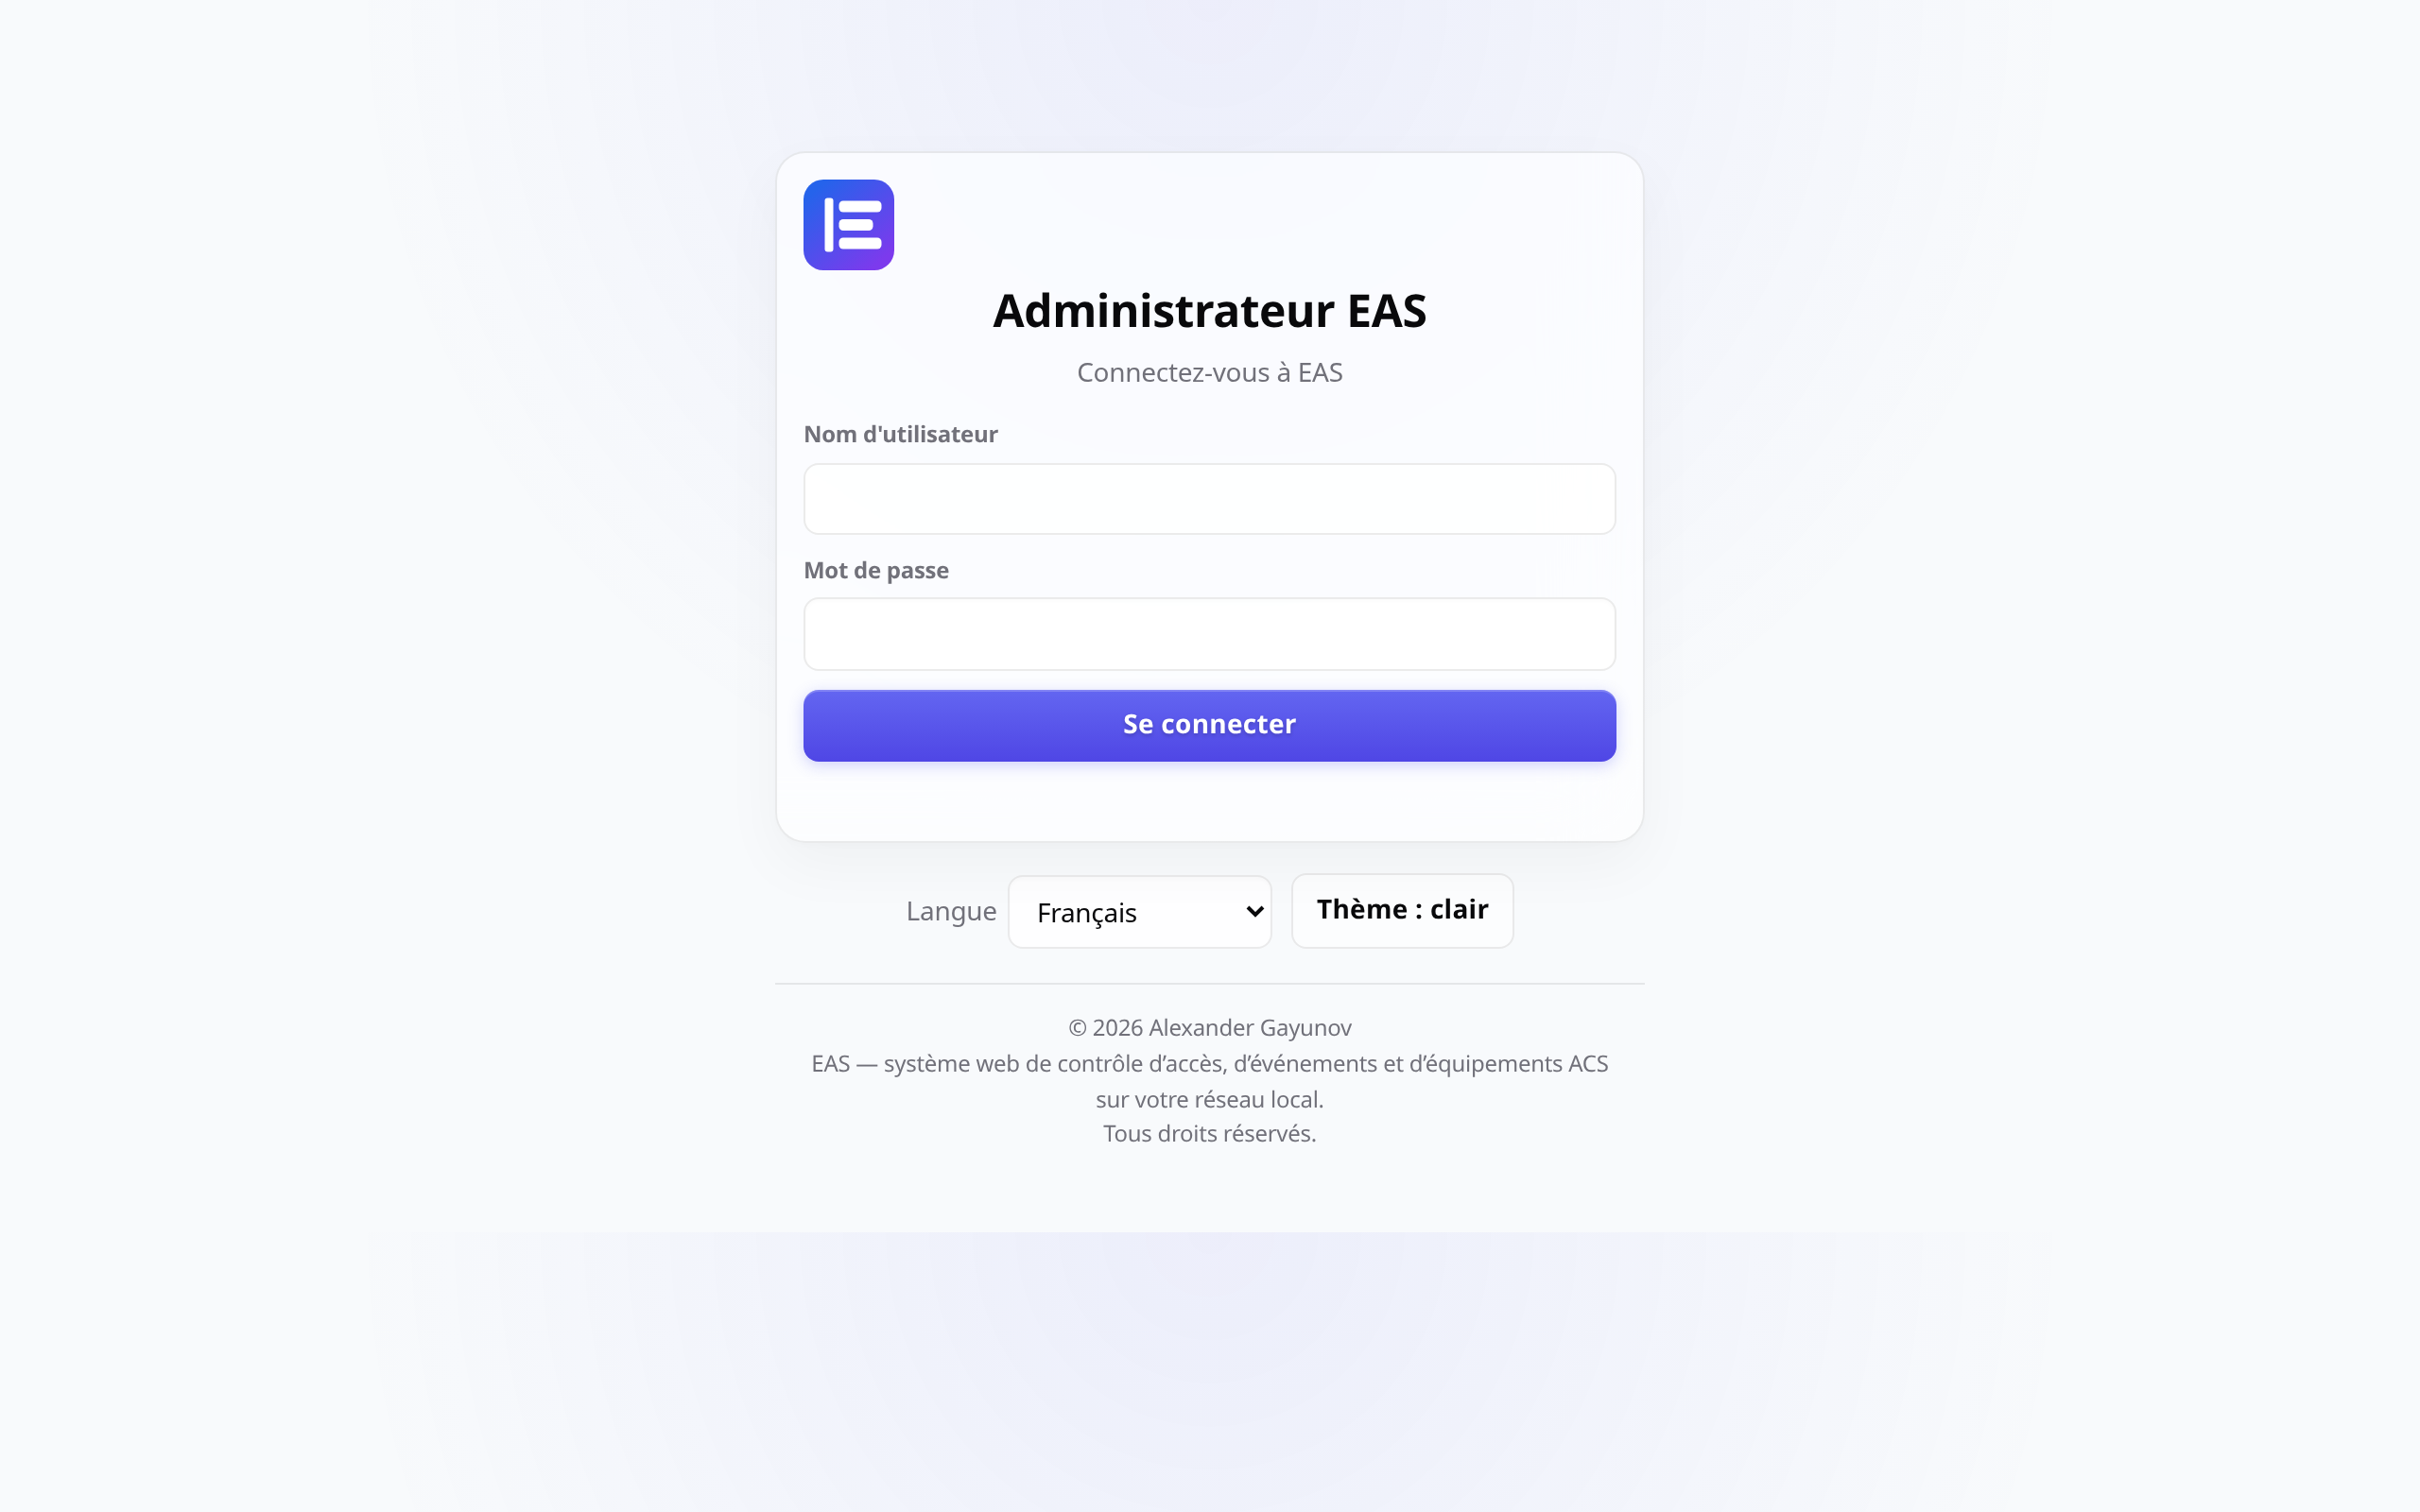
Ouvrez http://<IP-serveur>:8000/admin. Sous Linux, les identifiants sont dans eas.bootstrap.credentials — changez le mot de passe. L’assistant curl | bash crée admin automatiquement. Sous Windows, l’assistant d’installation affiche la connexion.
Tip: Pour HTTPS en production, placez un reverse proxy (nginx, Caddy ou IIS) — ne laissez pas le HTTP nu exposé.
- 7
Home Assistant (Ubuntu/Astra seulement, si installé avec HA)
Si vous avez gardé Home Assistant sous Linux : ouvrez http://<IP-serveur>:8123 et créez le compte admin HA. Mot de passe distinct d’EAS.
Tip: Si :8123 n’ouvre pas : journalctl -u home-assistant -n 50. Sous Windows, l’installateur EAS n’installe en général pas Home Assistant.
- 8
Jeton HA et lien avec EAS
Dans Home Assistant : profil → Sécurité → Jetons d’accès longue durée → Créer un jeton. Dans EAS : Administration → Home Assistant → sur Home Assistant local cliquez Jeton / modifier → coller → Synchroniser les entités.
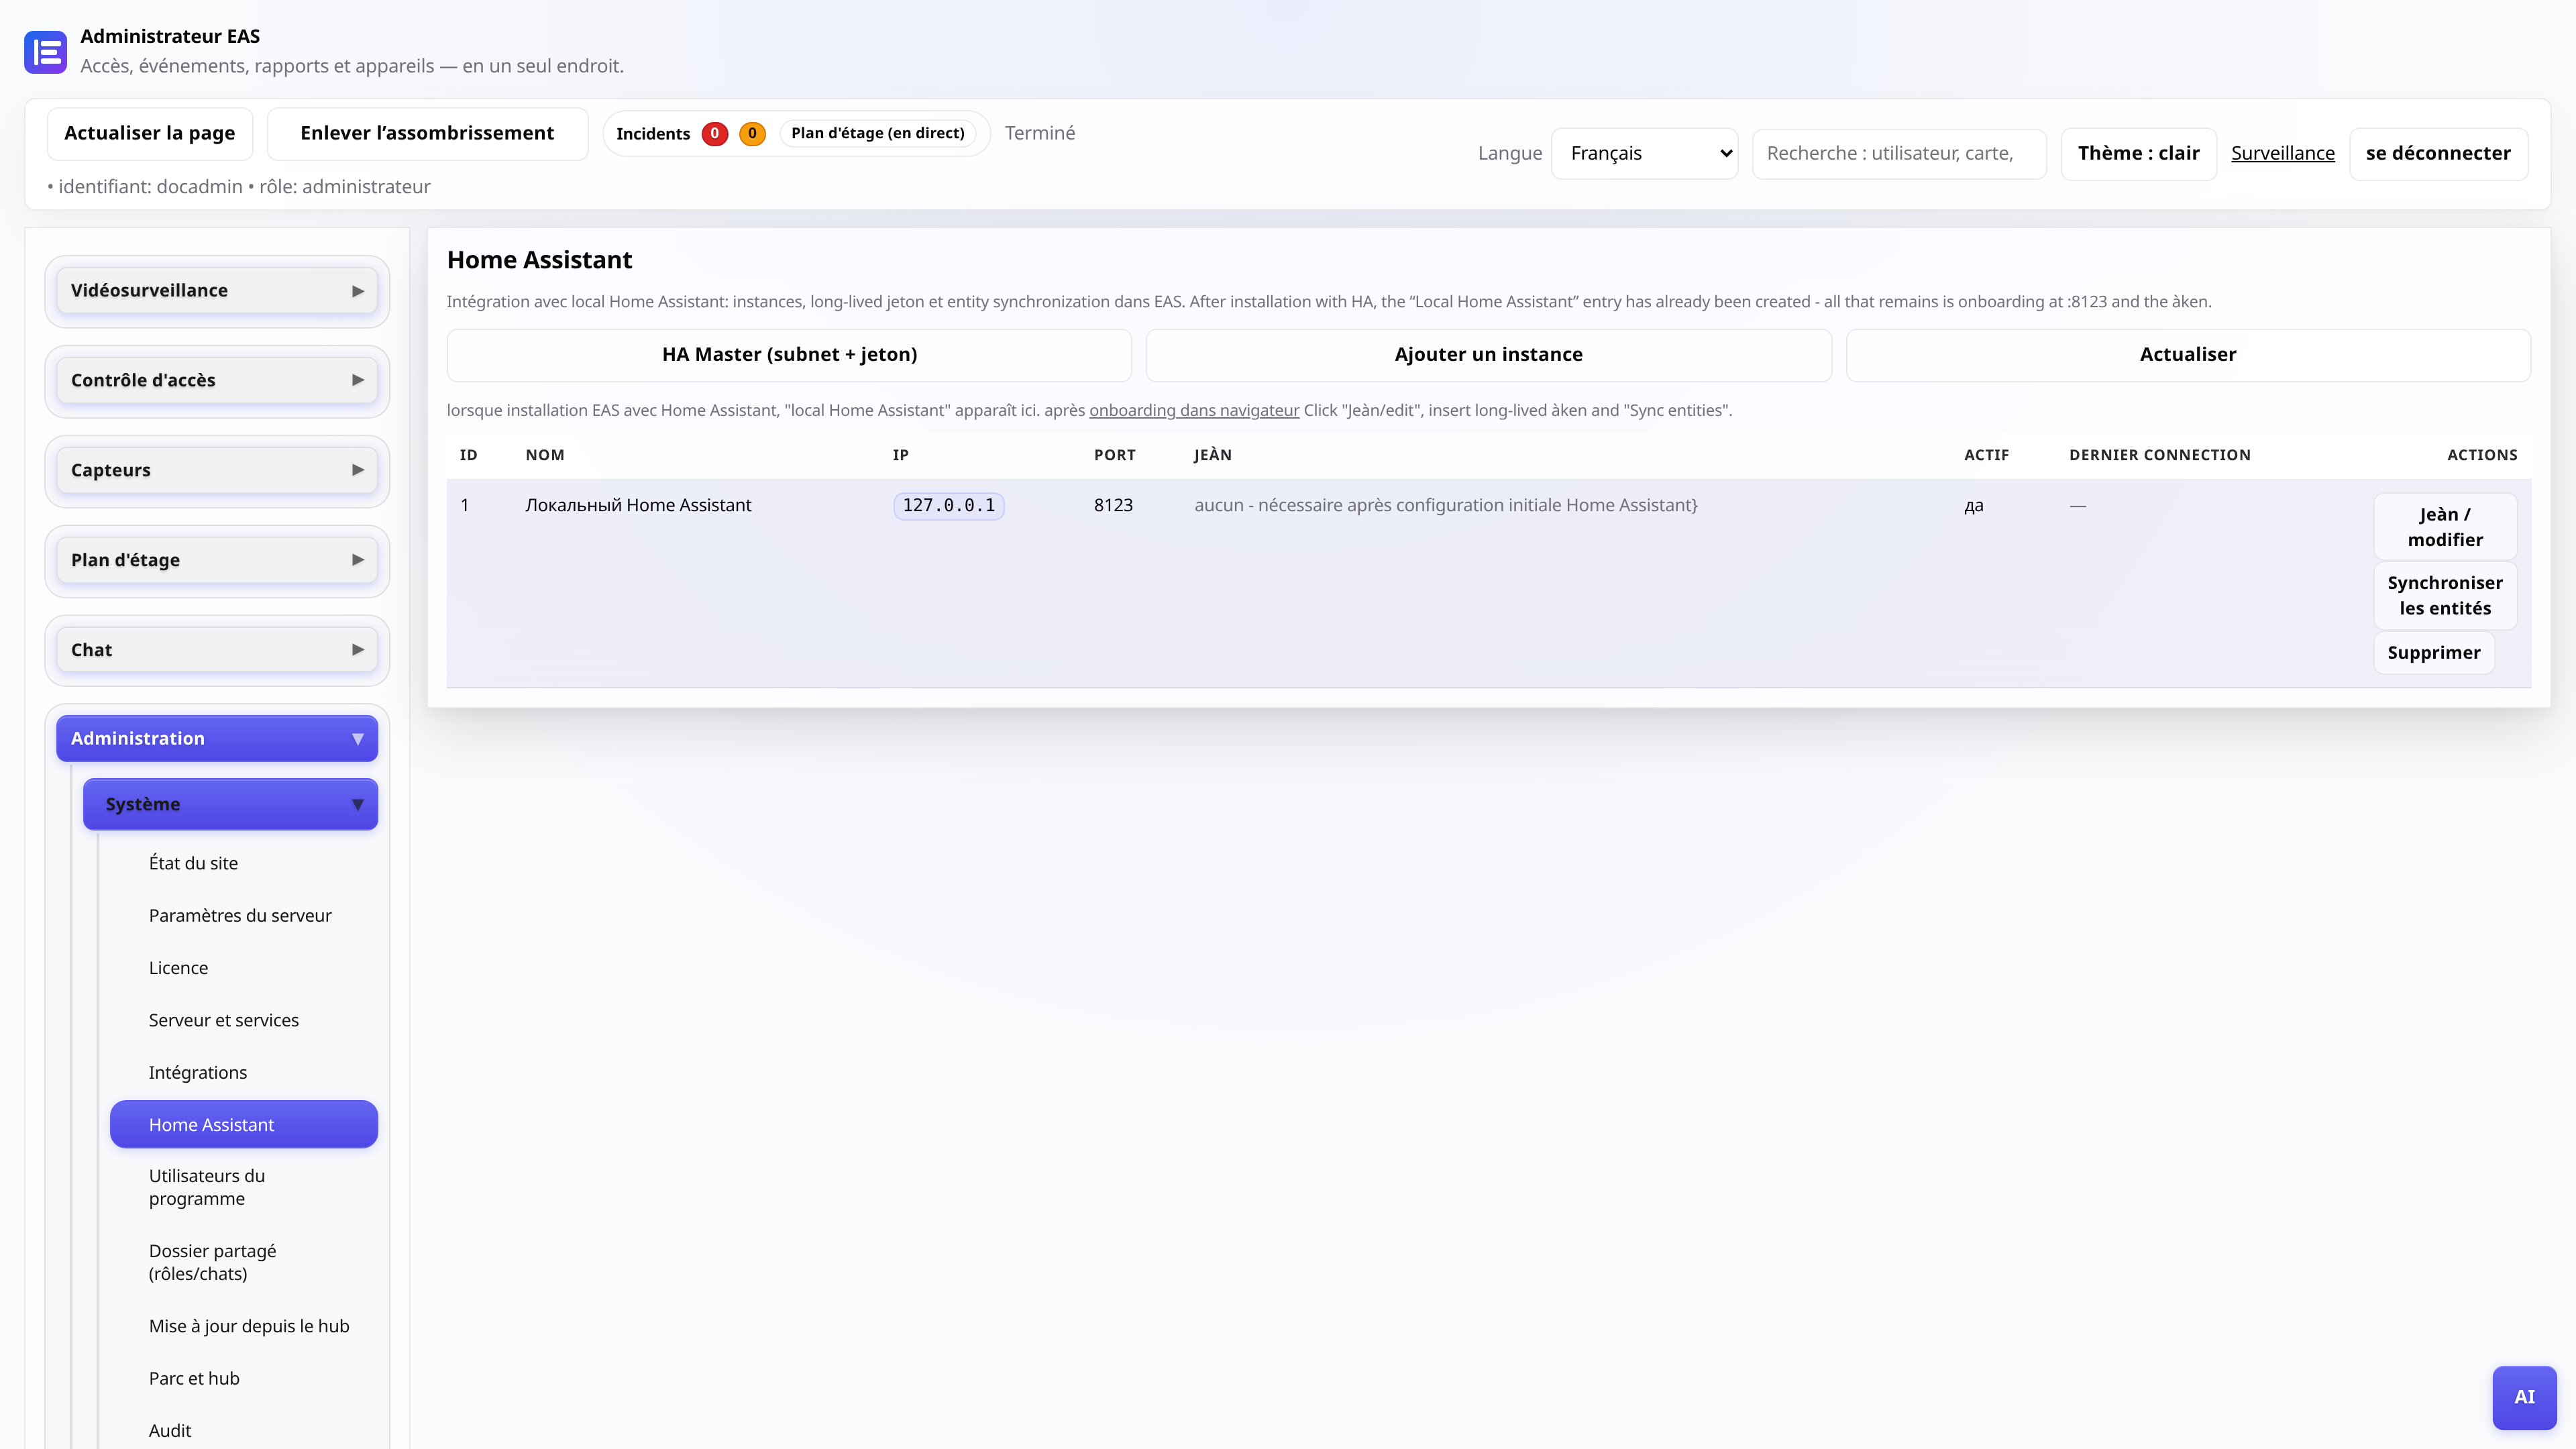
Tip: HA sur un autre sous-réseau : bouton Assistant HA.
- 9
Vérifier le serveur et activer la licence
Dans l’admin : Administration → Serveur et services — service actif, disque non plein. Puis Licence : collez la clé d’essai ou permanente et Activez.
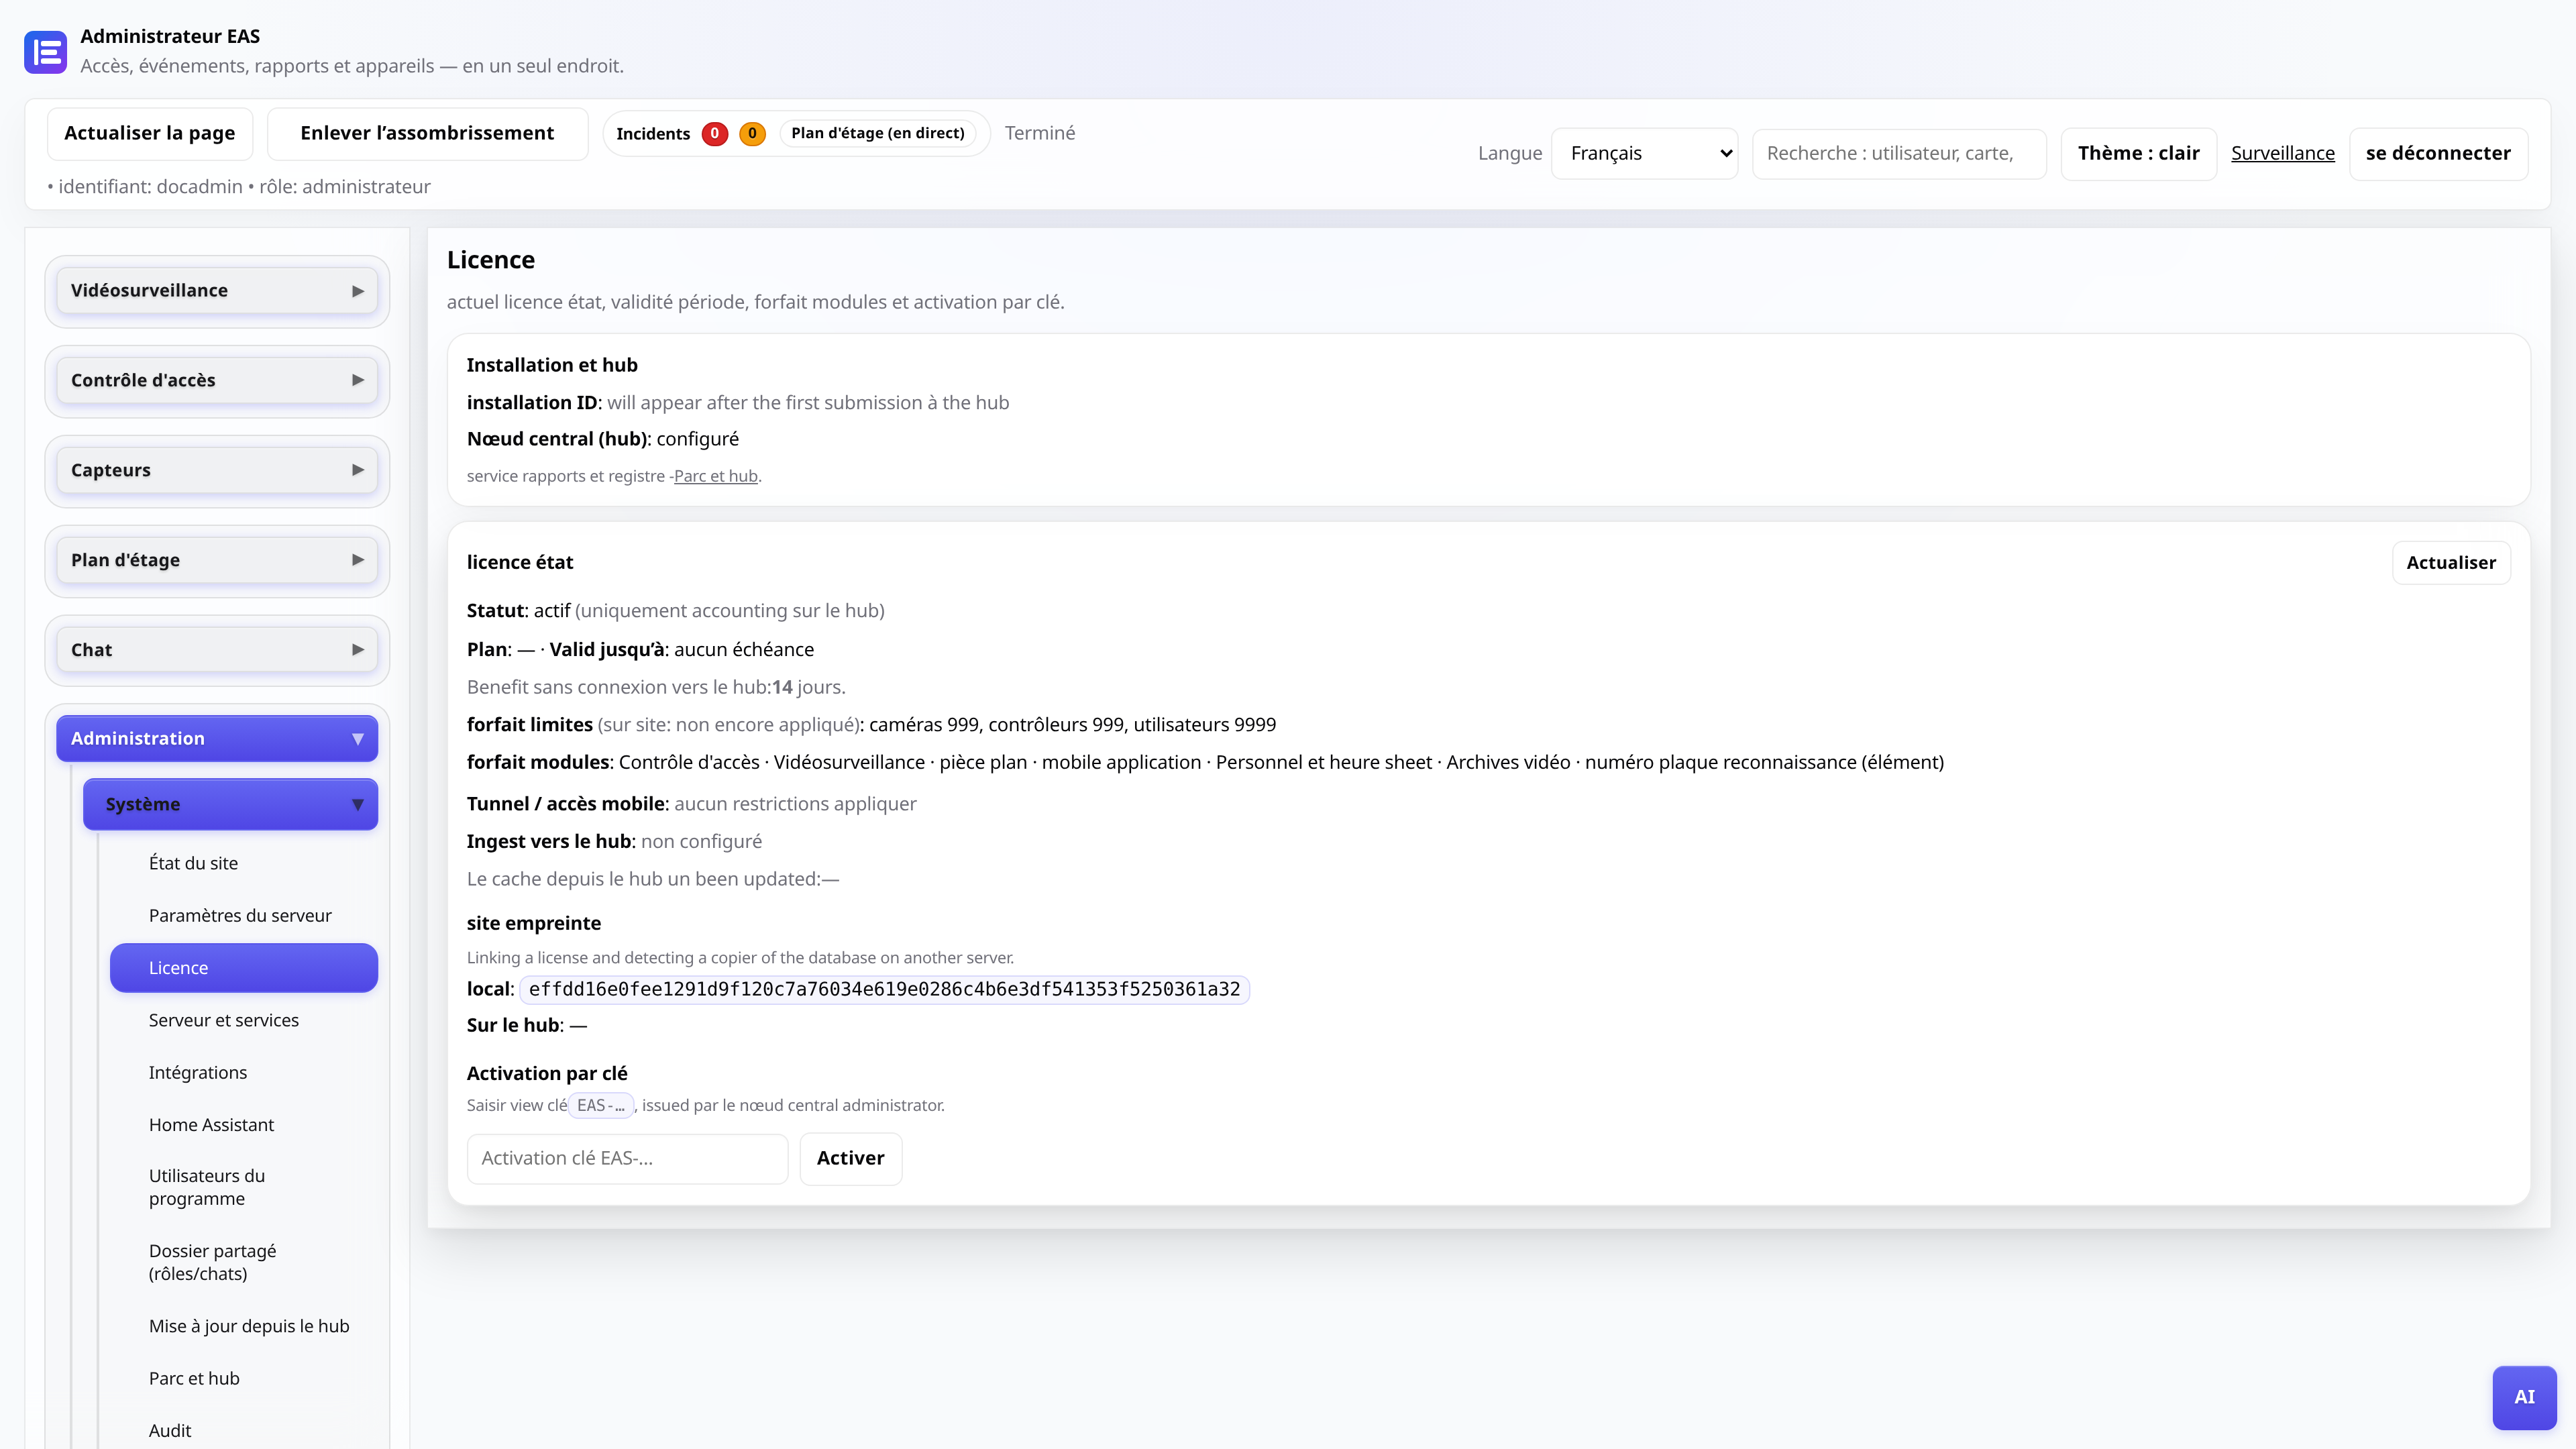
Tip: Sans licence, certaines fonctions sont limitées. Ensuite : connecter contrôleurs et caméras.