System administrator, integrator
Installing EAS on the server
How to install the EAS software on a ready server: Ubuntu, Astra Linux SE 1.8, or Windows Server. First login and activation.
- 1
OS first — then EAS
This guide is about installing the EAS application, not the operating system. The server must already have one of: Ubuntu Server 22.04+ (main path), Astra Linux SE 1.8 (open beta), or Windows Server with a desktop. EAS does not install Ubuntu, Astra, or Windows for you — choose the OS for your site policy, prepare hardware and network, then install EAS with the command or wizard below.
Tip: Pilot minimum: 2 cores, 4 GB RAM, 80 GB SSD (up to ~8 cameras). Larger sites: /docs/server-sizing/. Need a static IP, port 8000 for the admin UI, and ACS panels must reach the server.
- 2
Get a trial key
On the trial page (/download/) enter a work email and the server OS. The key arrives by email: 30 days on Ubuntu, 90 days on Astra or Windows. Keep the key — you activate it in the admin UI after install.
Tip: OS overviews: /ubuntu/, /astra/, /windows/. Download pages: /download/, /download/astra/, /download/windows/.
- 3
Ubuntu — one command
On already installed Ubuntu 22.04+, run the command below — or download the script / package from the links. The script pulls the current bundle from the hub, installs the database, eas-server, optional Home Assistant, and the setup wizard. Typically 30 minutes to 2 hours. Do not run this on Astra or Windows.
- Download Ubuntu install script (.sh)
- Download EAS package (.tar.gz), online
- Download Linux/Astra offline fat (.tar.gz)
- Ubuntu trial page — key and command
curl -fsSL https://asceas.ru/eas-hub/install/install-eas-from-hub.sh | sudo EAS_ACCEPT_EULA=1 bash -s -- --accept-eula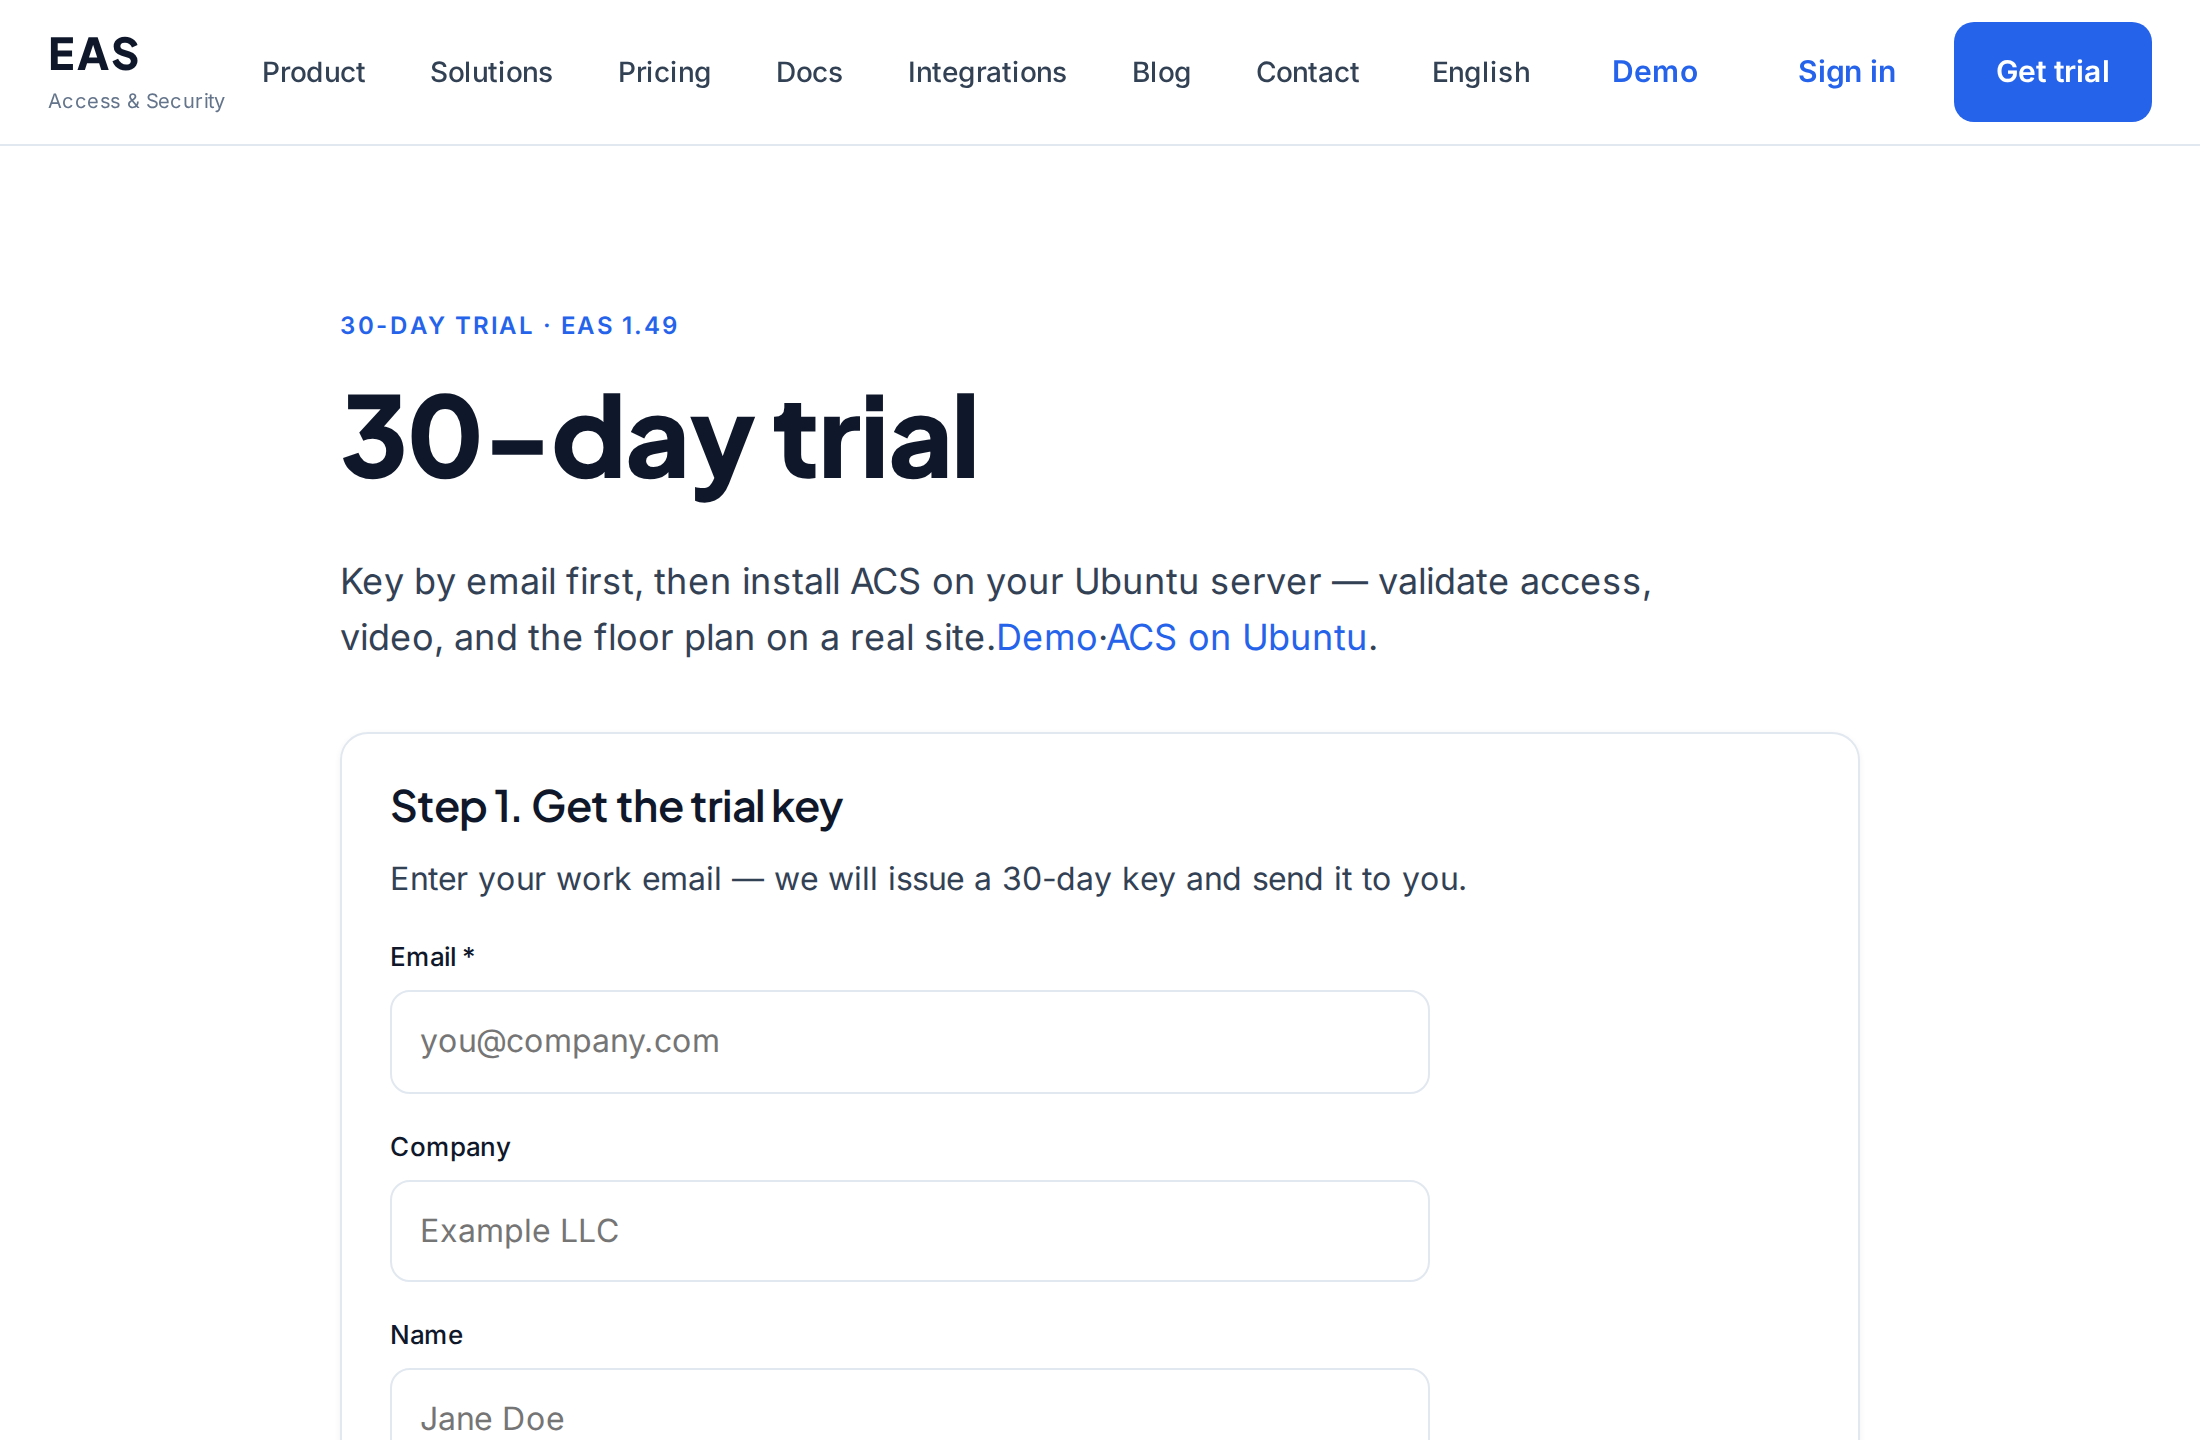
Tip: Without Home Assistant add `--without-ha`. The lean `.tar.gz` is online (OS mirrors / PyPI). Offline fat (no PyPI): download below, unpack, `sudo bash install-eas-from-offline.sh --accept-eula` (OS apt mirrors still needed).
- 4
Astra Linux SE 1.8 — separate installer
On already installed Astra Linux SE 1.8, use only the Astra command or script. The Ubuntu script on Astra breaks system mirrors — do not use it. Astra trial is 90 days.
- Download Astra install script (.sh)
- Download EAS package (.tar.gz), online
- Download Linux/Astra offline fat (.tar.gz)
- Astra trial page — key and command
curl -fsSL https://asceas.ru/eas-hub/install/install-eas-astra-from-hub.sh | sudo EAS_ACCEPT_EULA=1 bash -s -- --accept-eulaTip: Online: Astra script only. Offline fat is shared with Ubuntu — after unpack run `install-eas-from-offline.sh` (includes deploy/astra). Page: /download/astra/.
- 5
Windows Server — setup.exe
On already installed Windows Server (with GUI), download the installer using the links below or from the Windows trial page. Run the wizard, wait for EAS services, then open http://localhost:8000/admin.
- Download setup.exe (setup wizard)
- Download offline ZIP (no internet on the server)
- Windows trial page — key and both links
Tip: No internet on the server — use the offline ZIP. Normal GUI path — setup.exe. Linux curl does not apply on Windows. Trial — 90 days. Also: /windows/.
- 6
First login to the EAS admin
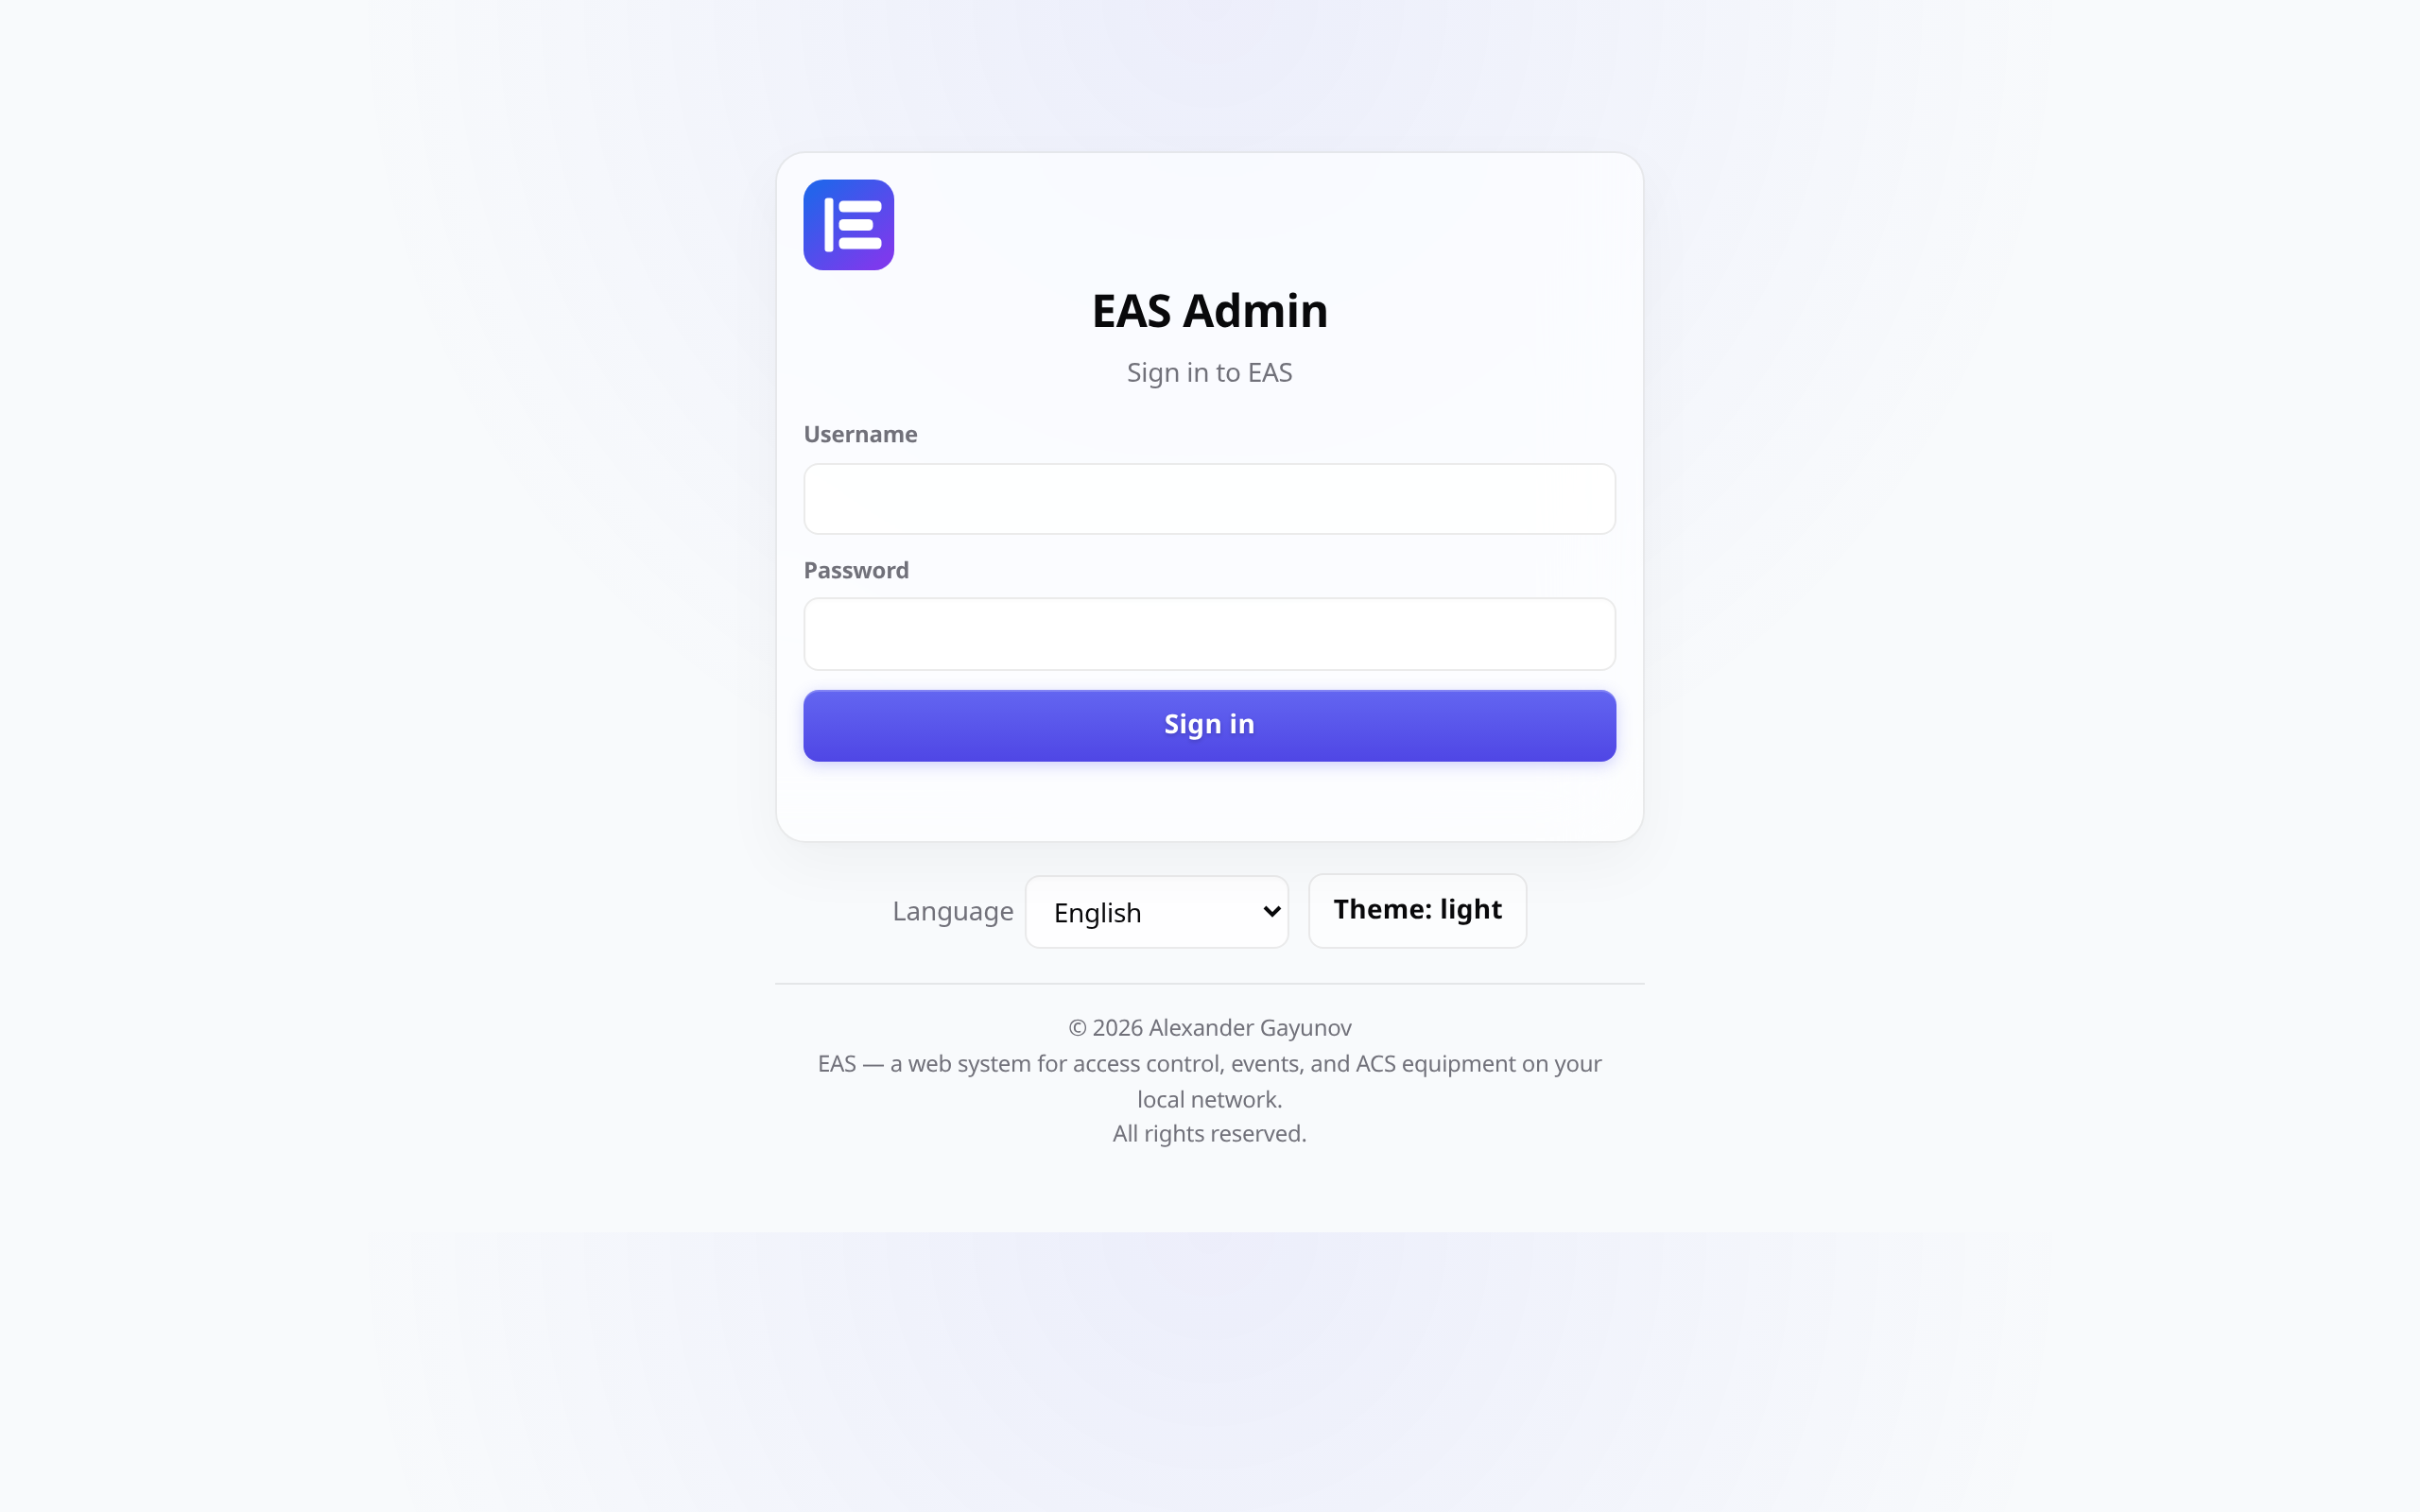
Open http://<server-IP>:8000/admin. On Linux, credentials after install are in eas.bootstrap.credentials — change the password. The curl | bash wizard creates admin automatically. On Windows, the setup wizard shows the login.
Tip: For HTTPS in production, put a reverse proxy in front (nginx, Caddy, or IIS) — do not leave plain HTTP exposed.
- 7
Home Assistant (Ubuntu/Astra only, if installed with HA)
If you kept Home Assistant on Linux: open http://<server-IP>:8123 and create an HA admin account (name, password, time zone). This password is separate from EAS.
Tip: If :8123 does not open: journalctl -u home-assistant -n 50 — wait for the first install to finish. Windows EAS setup usually does not install Home Assistant.
- 8
HA token and link to EAS
In Home Assistant: profile → Security → Long-lived access tokens → Create token. In EAS: Administration → Home Assistant → on Local Home Assistant click Token / edit → paste → Synchronize entities.
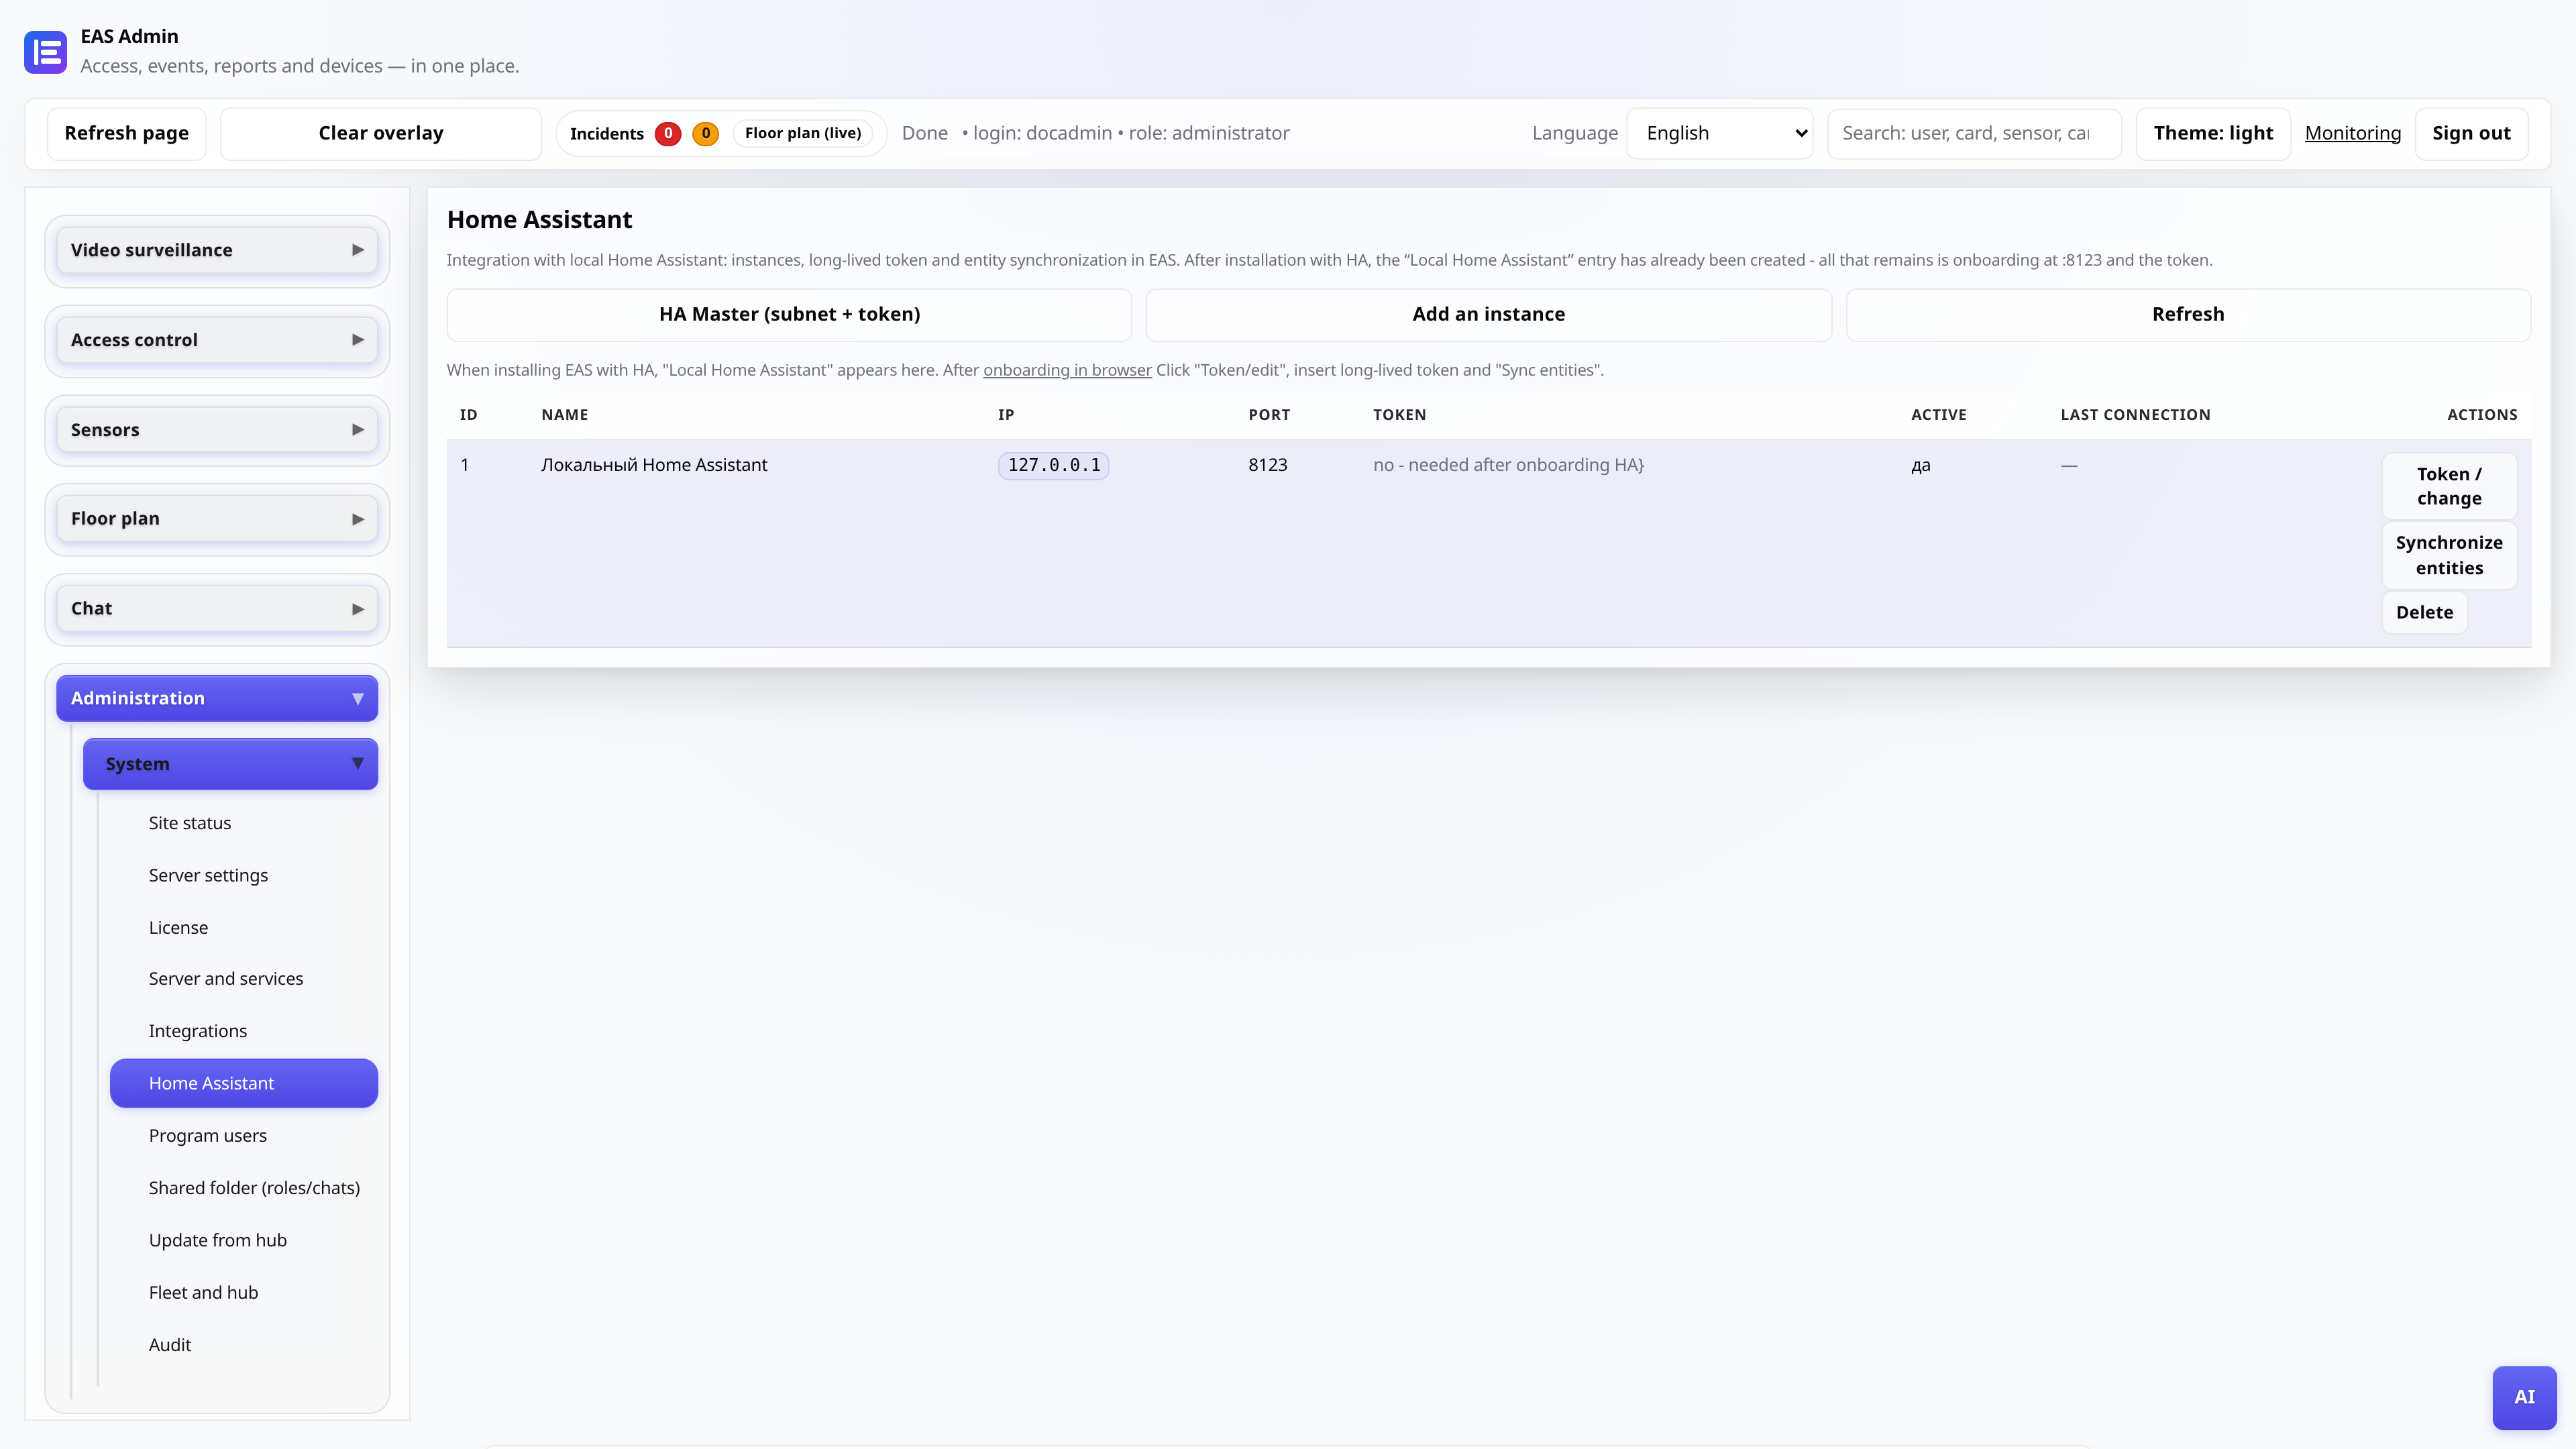
Tip: HA on another subnet: use the HA Wizard button on the same page.
- 9
Check the server and activate the license
In the admin UI open Administration → Server and services — the service should be active and the disk not full. Then License: paste the trial or permanent key and click Activate.
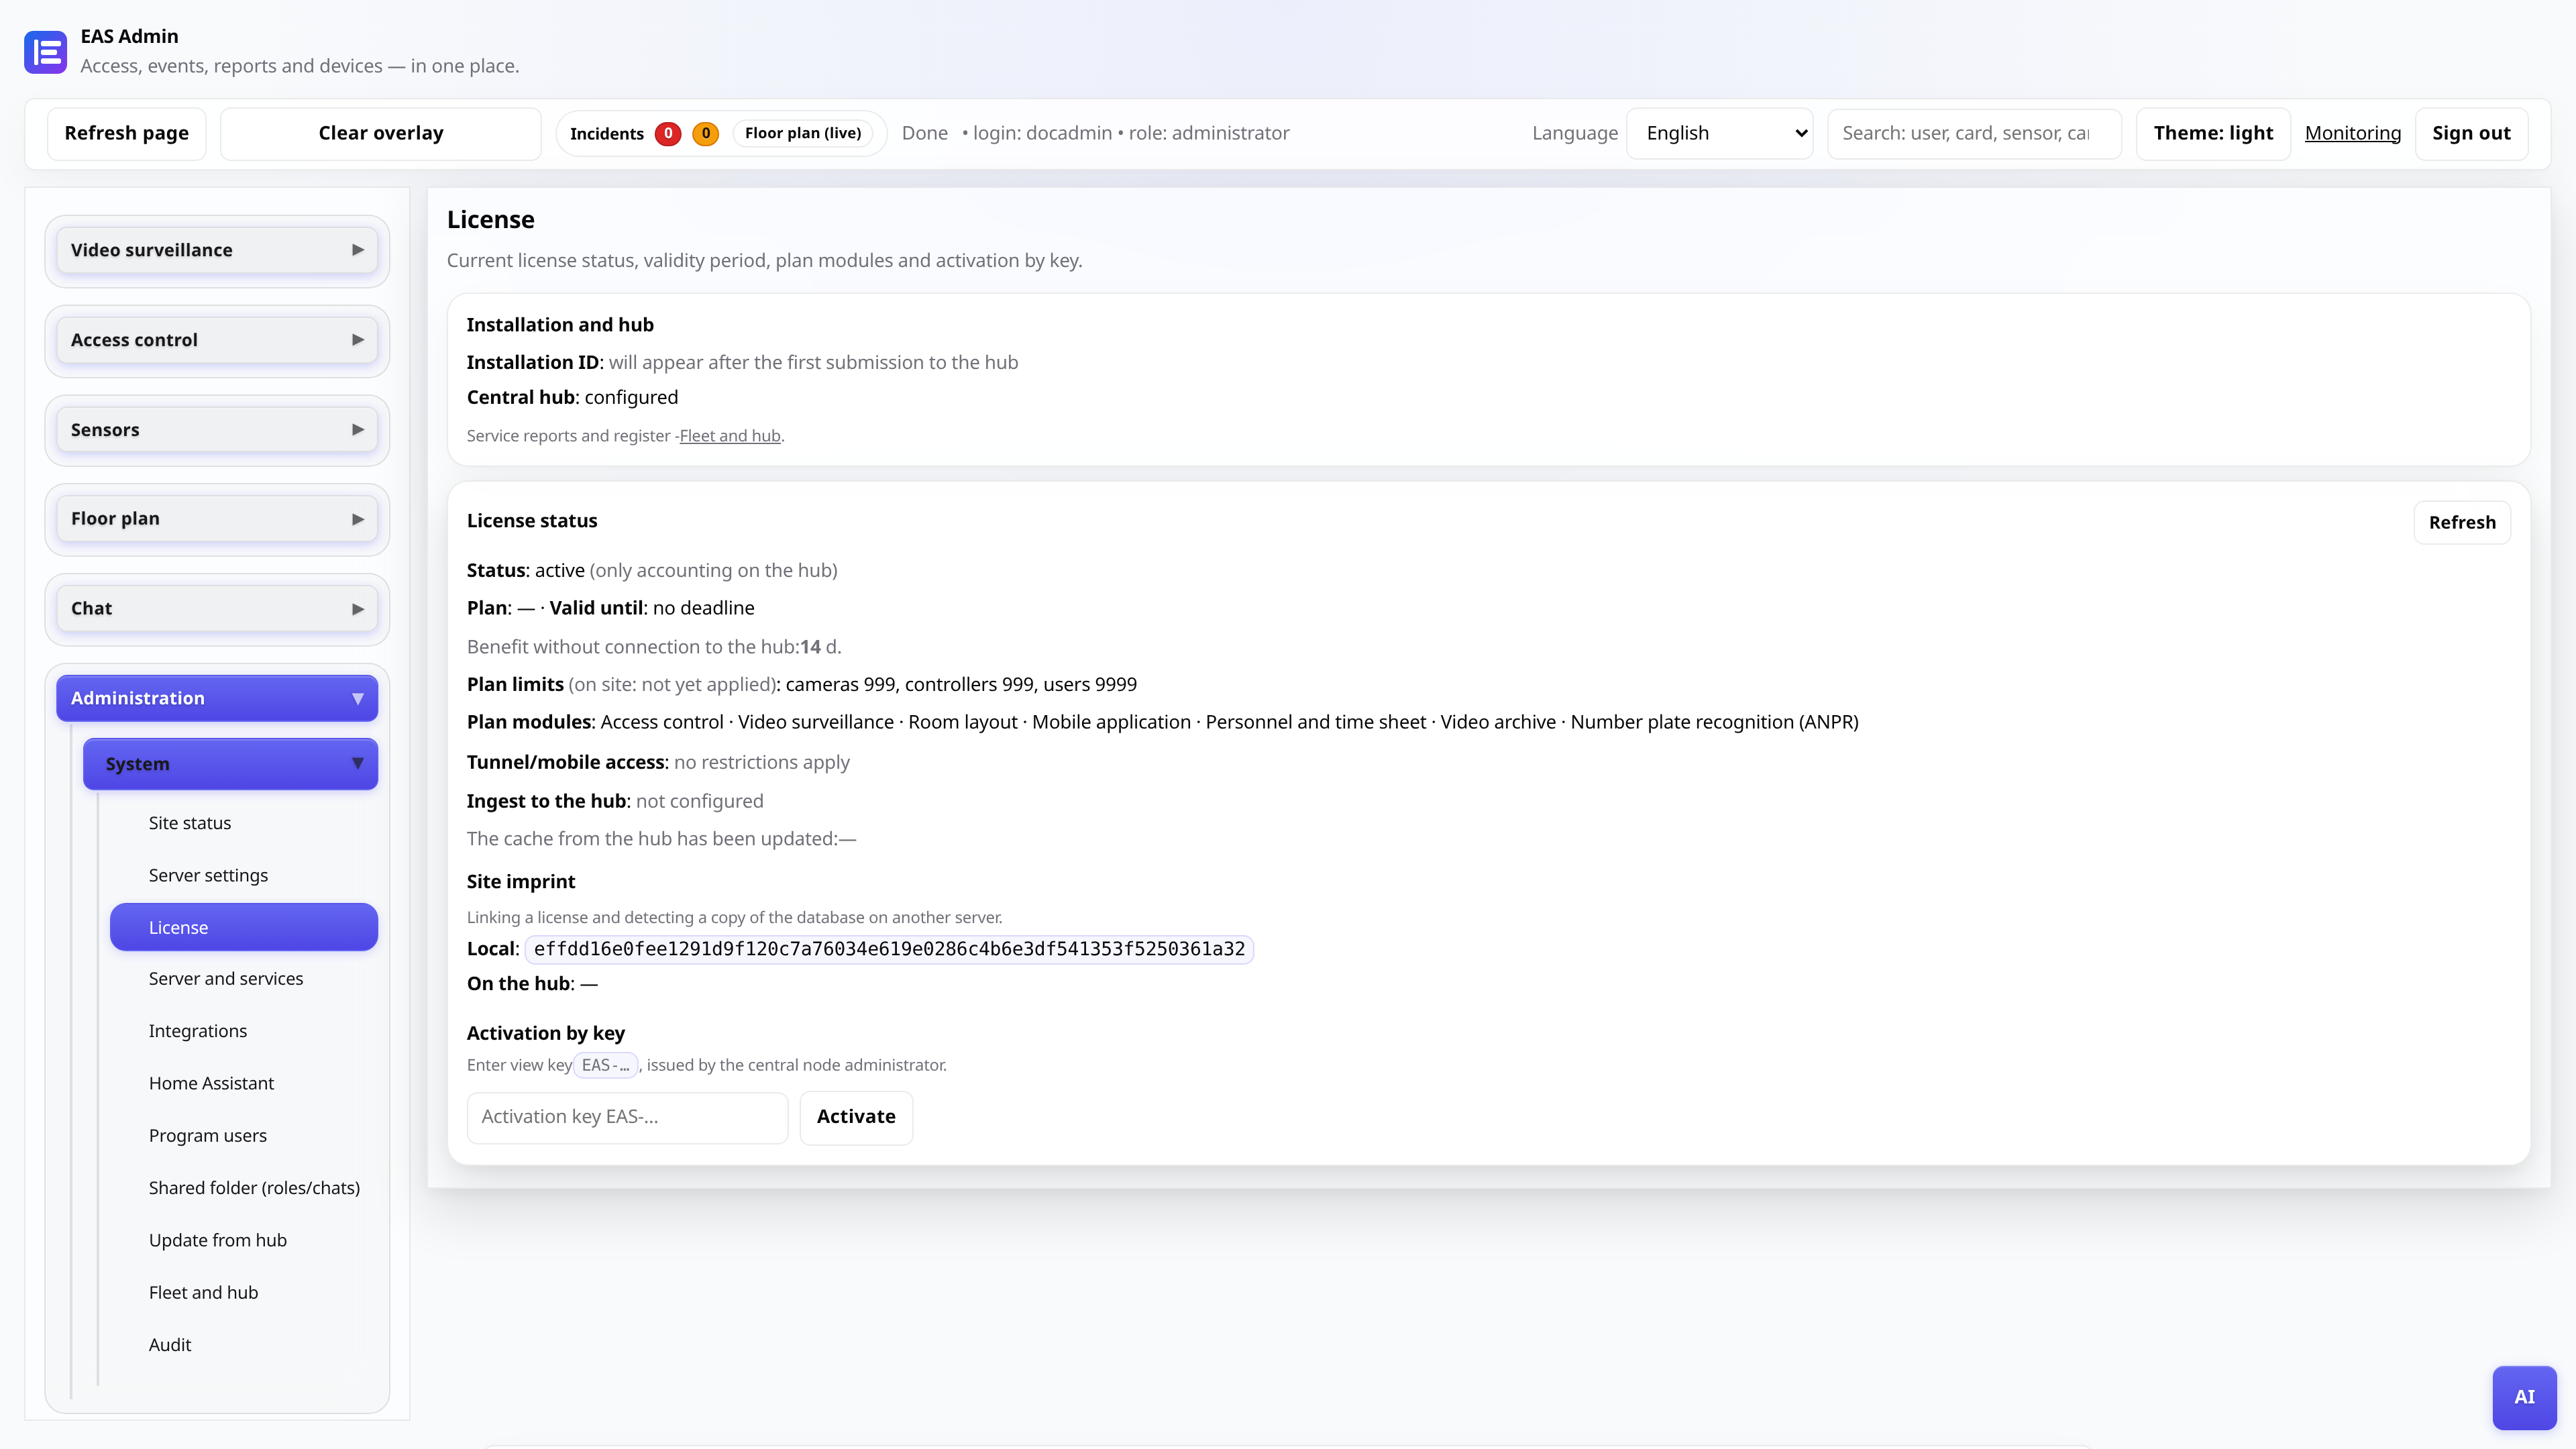
Tip: Without a license some features are limited. Next: connect controllers and cameras using the other guides.