Systemadministrator, Integrator
EAS auf dem Server installieren
Wie Sie die EAS-Software auf einem fertigen Server installieren: Ubuntu, Astra Linux SE 1.8 oder Windows Server. Erste Anmeldung und Aktivierung.
- 1
Zuerst das OS — dann EAS
Diese Anleitung betrifft die Installation der EAS-Anwendung, nicht des Betriebssystems. Auf dem Server muss bereits eines der folgenden Systeme laufen: Ubuntu Server 22.04+ (Hauptweg), Astra Linux SE 1.8 (offene Beta) oder Windows Server mit Desktop. EAS installiert Ubuntu, Astra oder Windows nicht für Sie — wählen Sie das OS, bereiten Sie Hardware und Netz vor und installieren Sie EAS danach mit dem Befehl oder Assistenten unten.
Tip: Pilot-Minimum: 2 Kerne, 4 GB RAM, 80 GB SSD (bis ~8 Kameras). Größere Anlagen: /docs/server-sizing/. Statische IP, Port 8000 und Erreichbarkeit der ACS-Controller.
- 2
Trial-Schlüssel holen
Auf der Trial-Seite (/download/) E-Mail und Server-OS angeben. Der Schlüssel kommt per E-Mail: 30 Tage Ubuntu, 90 Tage Astra oder Windows. Schlüssel aufbewahren — Aktivierung in der Admin-UI nach der Installation.
Tip: OS-Übersichten: /ubuntu/, /astra/, /windows/. Download: /download/, /download/astra/, /download/windows/.
- 3
Ubuntu — ein Befehl
On already installed Ubuntu 22.04+, run the command below — or download the script / package from the links. The script pulls the current bundle from the hub, installs the database, eas-server, optional Home Assistant, and the setup wizard. Typically 30 minutes to 2 hours. Do not run this on Astra or Windows.
- Download Ubuntu install script (.sh)
- Download EAS package (.tar.gz), online
- Linux/Astra Offline-Fat herunterladen (.tar.gz)
- Ubuntu trial page — key and command
curl -fsSL https://asceas.ru/eas-hub/install/install-eas-from-hub.sh | sudo EAS_ACCEPT_EULA=1 bash -s -- --accept-eula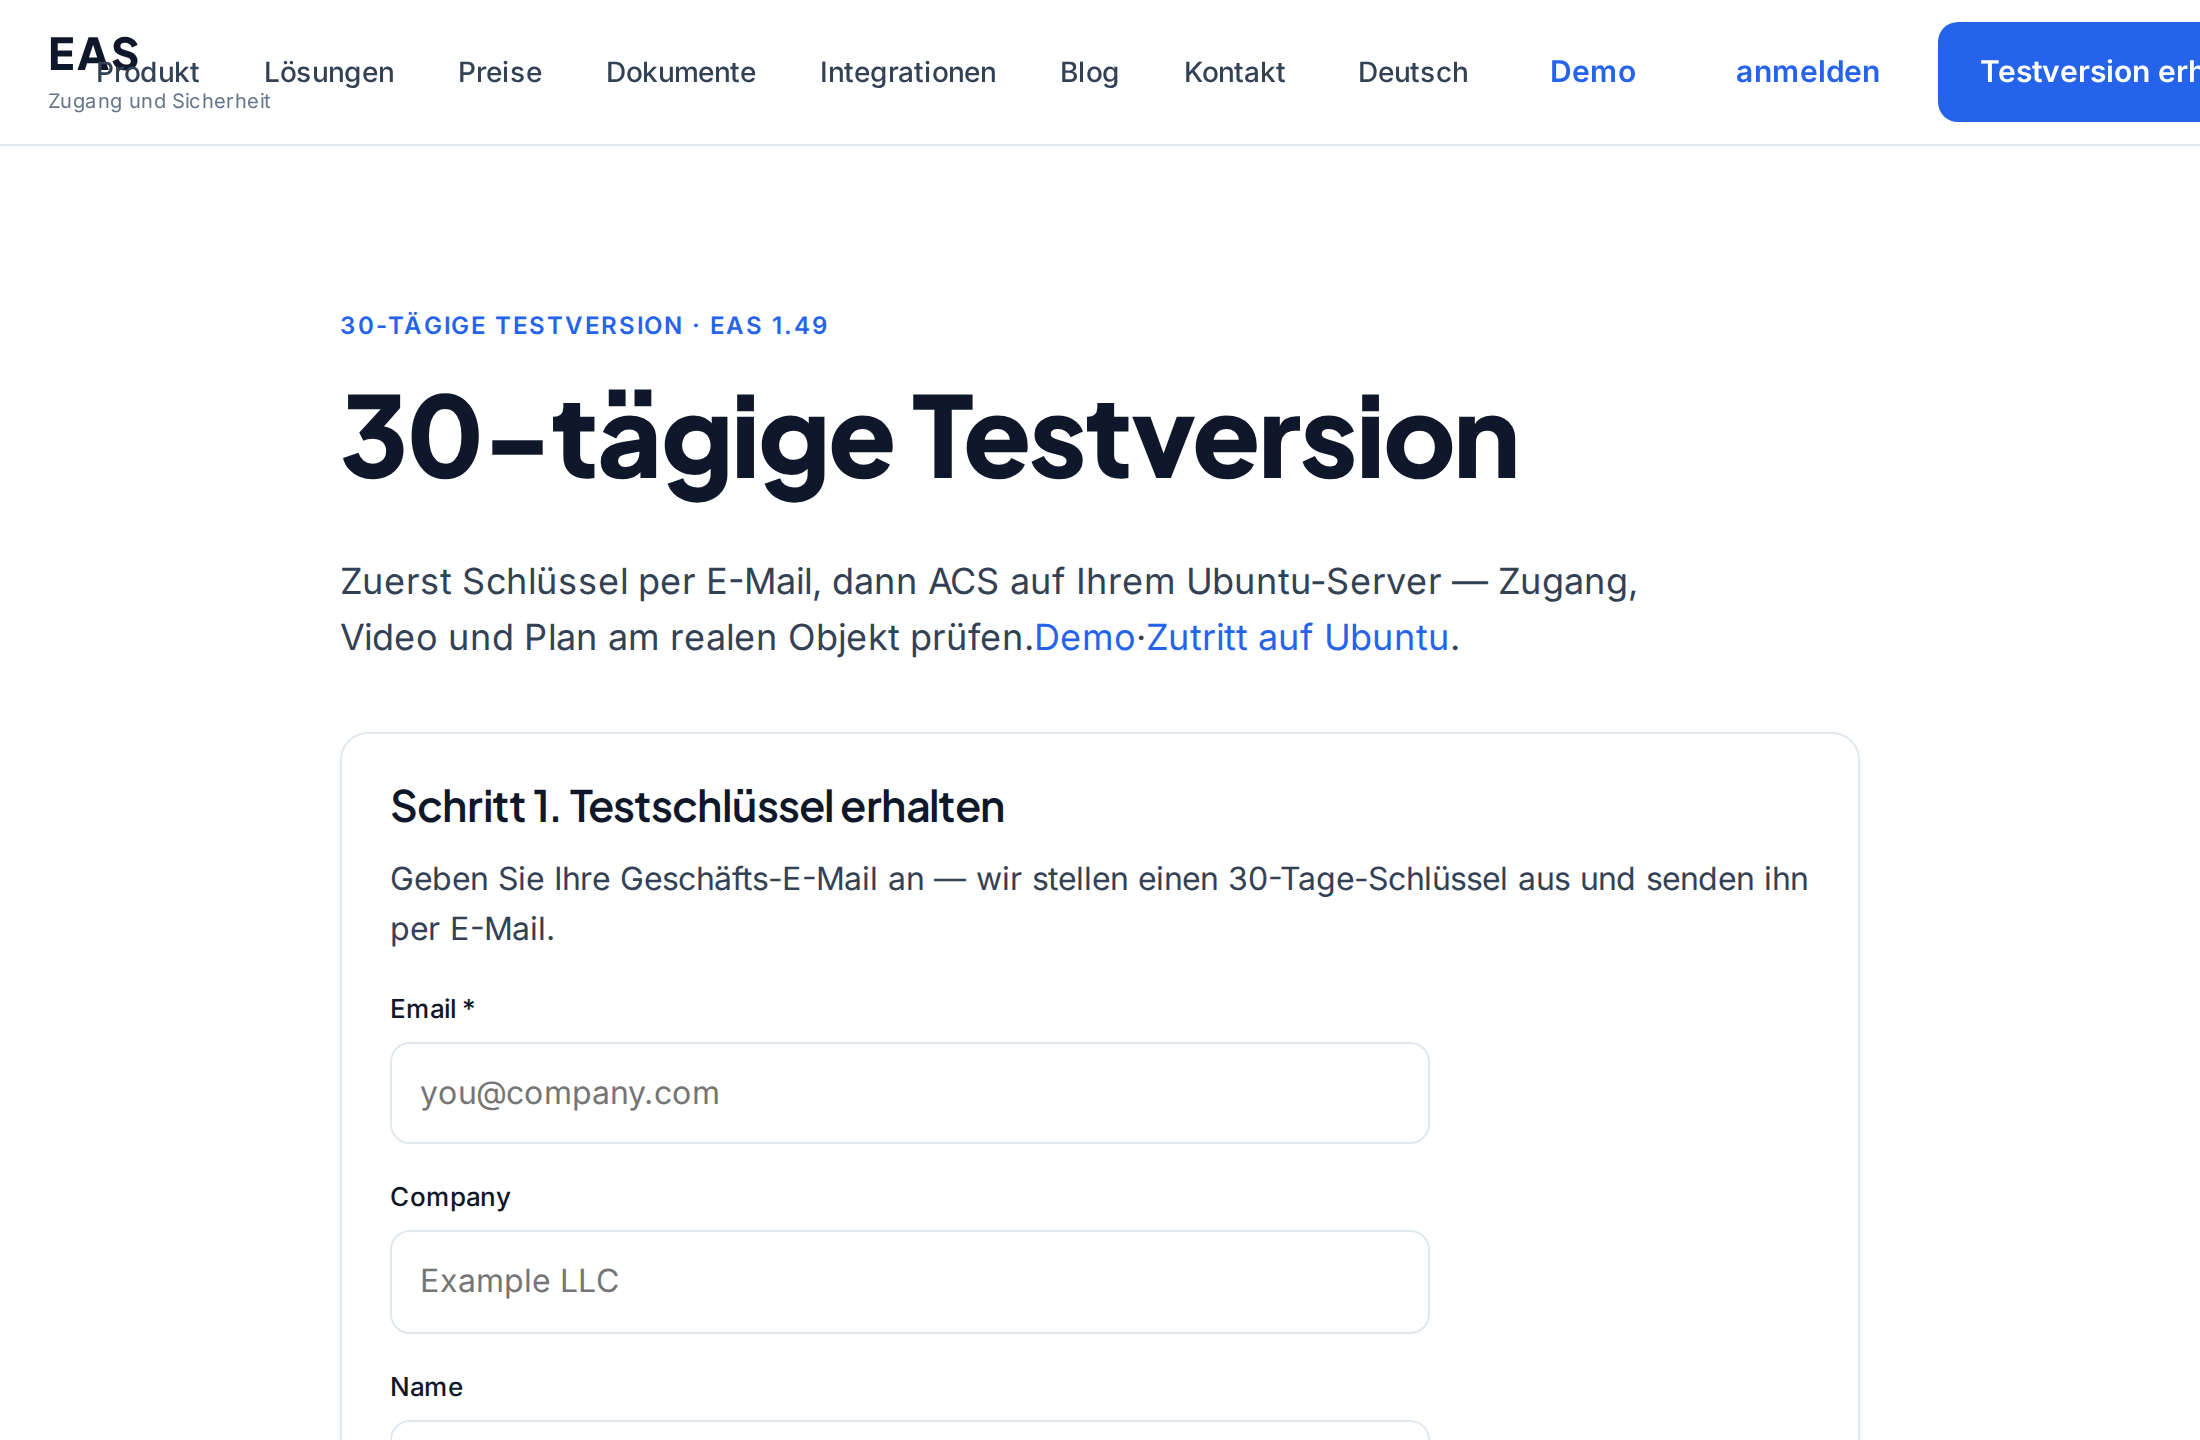
Tip: Without Home Assistant add `--without-ha`. The lean `.tar.gz` is online (OS mirrors / PyPI). Offline fat (no PyPI): download below, unpack, `sudo bash install-eas-from-offline.sh --accept-eula` (OS apt mirrors still needed).
- 4
Astra Linux SE 1.8 — eigener Installer
On already installed Astra Linux SE 1.8, use only the Astra command or script. The Ubuntu script on Astra breaks system mirrors — do not use it. Astra trial is 90 days.
- Download Astra install script (.sh)
- Download EAS package (.tar.gz), online
- Linux/Astra Offline-Fat herunterladen (.tar.gz)
- Astra trial page — key and command
curl -fsSL https://asceas.ru/eas-hub/install/install-eas-astra-from-hub.sh | sudo EAS_ACCEPT_EULA=1 bash -s -- --accept-eulaTip: Online: Astra script only. Offline fat is shared with Ubuntu — after unpack run `install-eas-from-offline.sh` (includes deploy/astra). Page: /download/astra/.
- 5
Windows Server — setup.exe
On already installed Windows Server (with GUI), download the installer using the links below or from the Windows trial page. Run the wizard, wait for EAS services, then open http://localhost:8000/admin.
- Download setup.exe (setup wizard)
- Download offline ZIP (no internet on the server)
- Windows trial page — key and both links
Tip: No internet on the server — use the offline ZIP. Normal GUI path — setup.exe. Linux curl does not apply on Windows. Trial — 90 days. Also: /windows/.
- 6
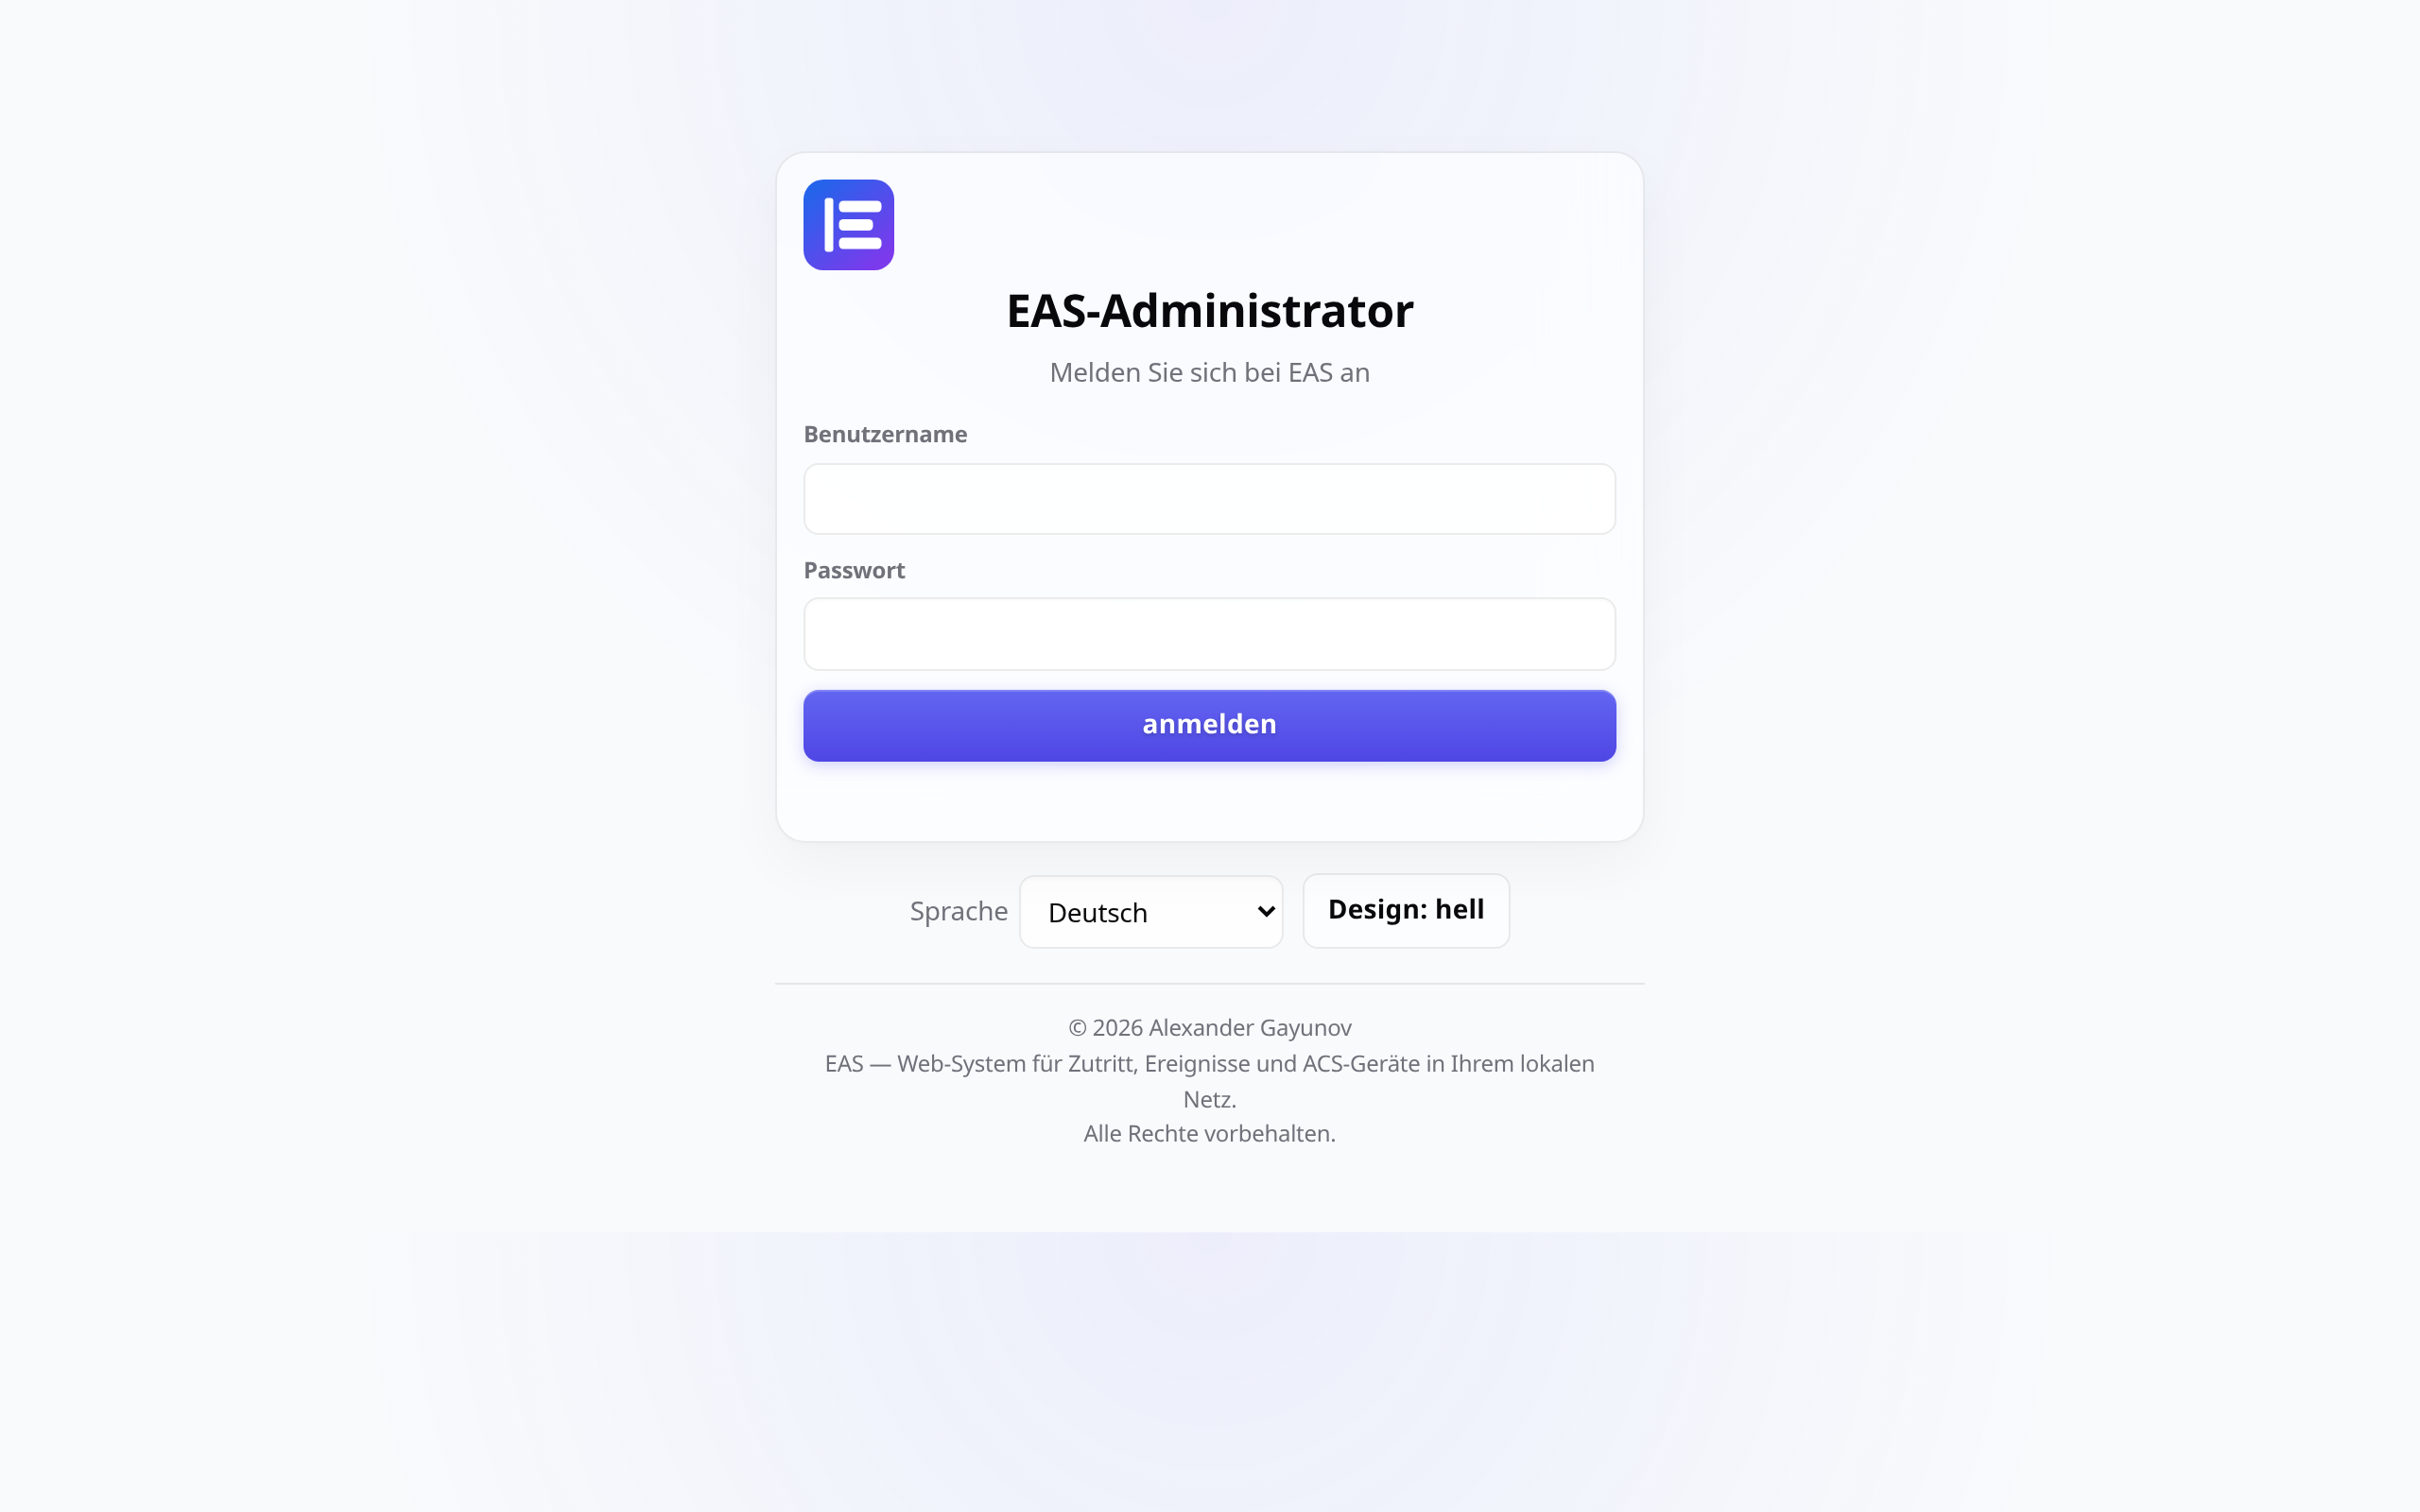
Erste Anmeldung in der EAS-Admin
http://<Server-IP>:8000/admin öffnen. Unter Linux stehen die Zugangsdaten in eas.bootstrap.credentials — Passwort ändern. Der curl|bash-Assistent legt admin automatisch an. Unter Windows zeigt der Setup-Assistent den Login.
Tip: Für HTTPS in Produktion Reverse-Proxy (nginx, Caddy oder IIS) — kein bloßes HTTP nach außen.
- 7
Home Assistant (nur Ubuntu/Astra, falls mit HA)
Wenn Home Assistant unter Linux mitinstalliert wurde: http://<Server-IP>:8123 öffnen und HA-Admin anlegen. Passwort getrennt von EAS.
Tip: Falls :8123 nicht öffnet: journalctl -u home-assistant -n 50. Unter Windows installiert EAS Home Assistant in der Regel nicht.
- 8
HA-Token und Anbindung an EAS
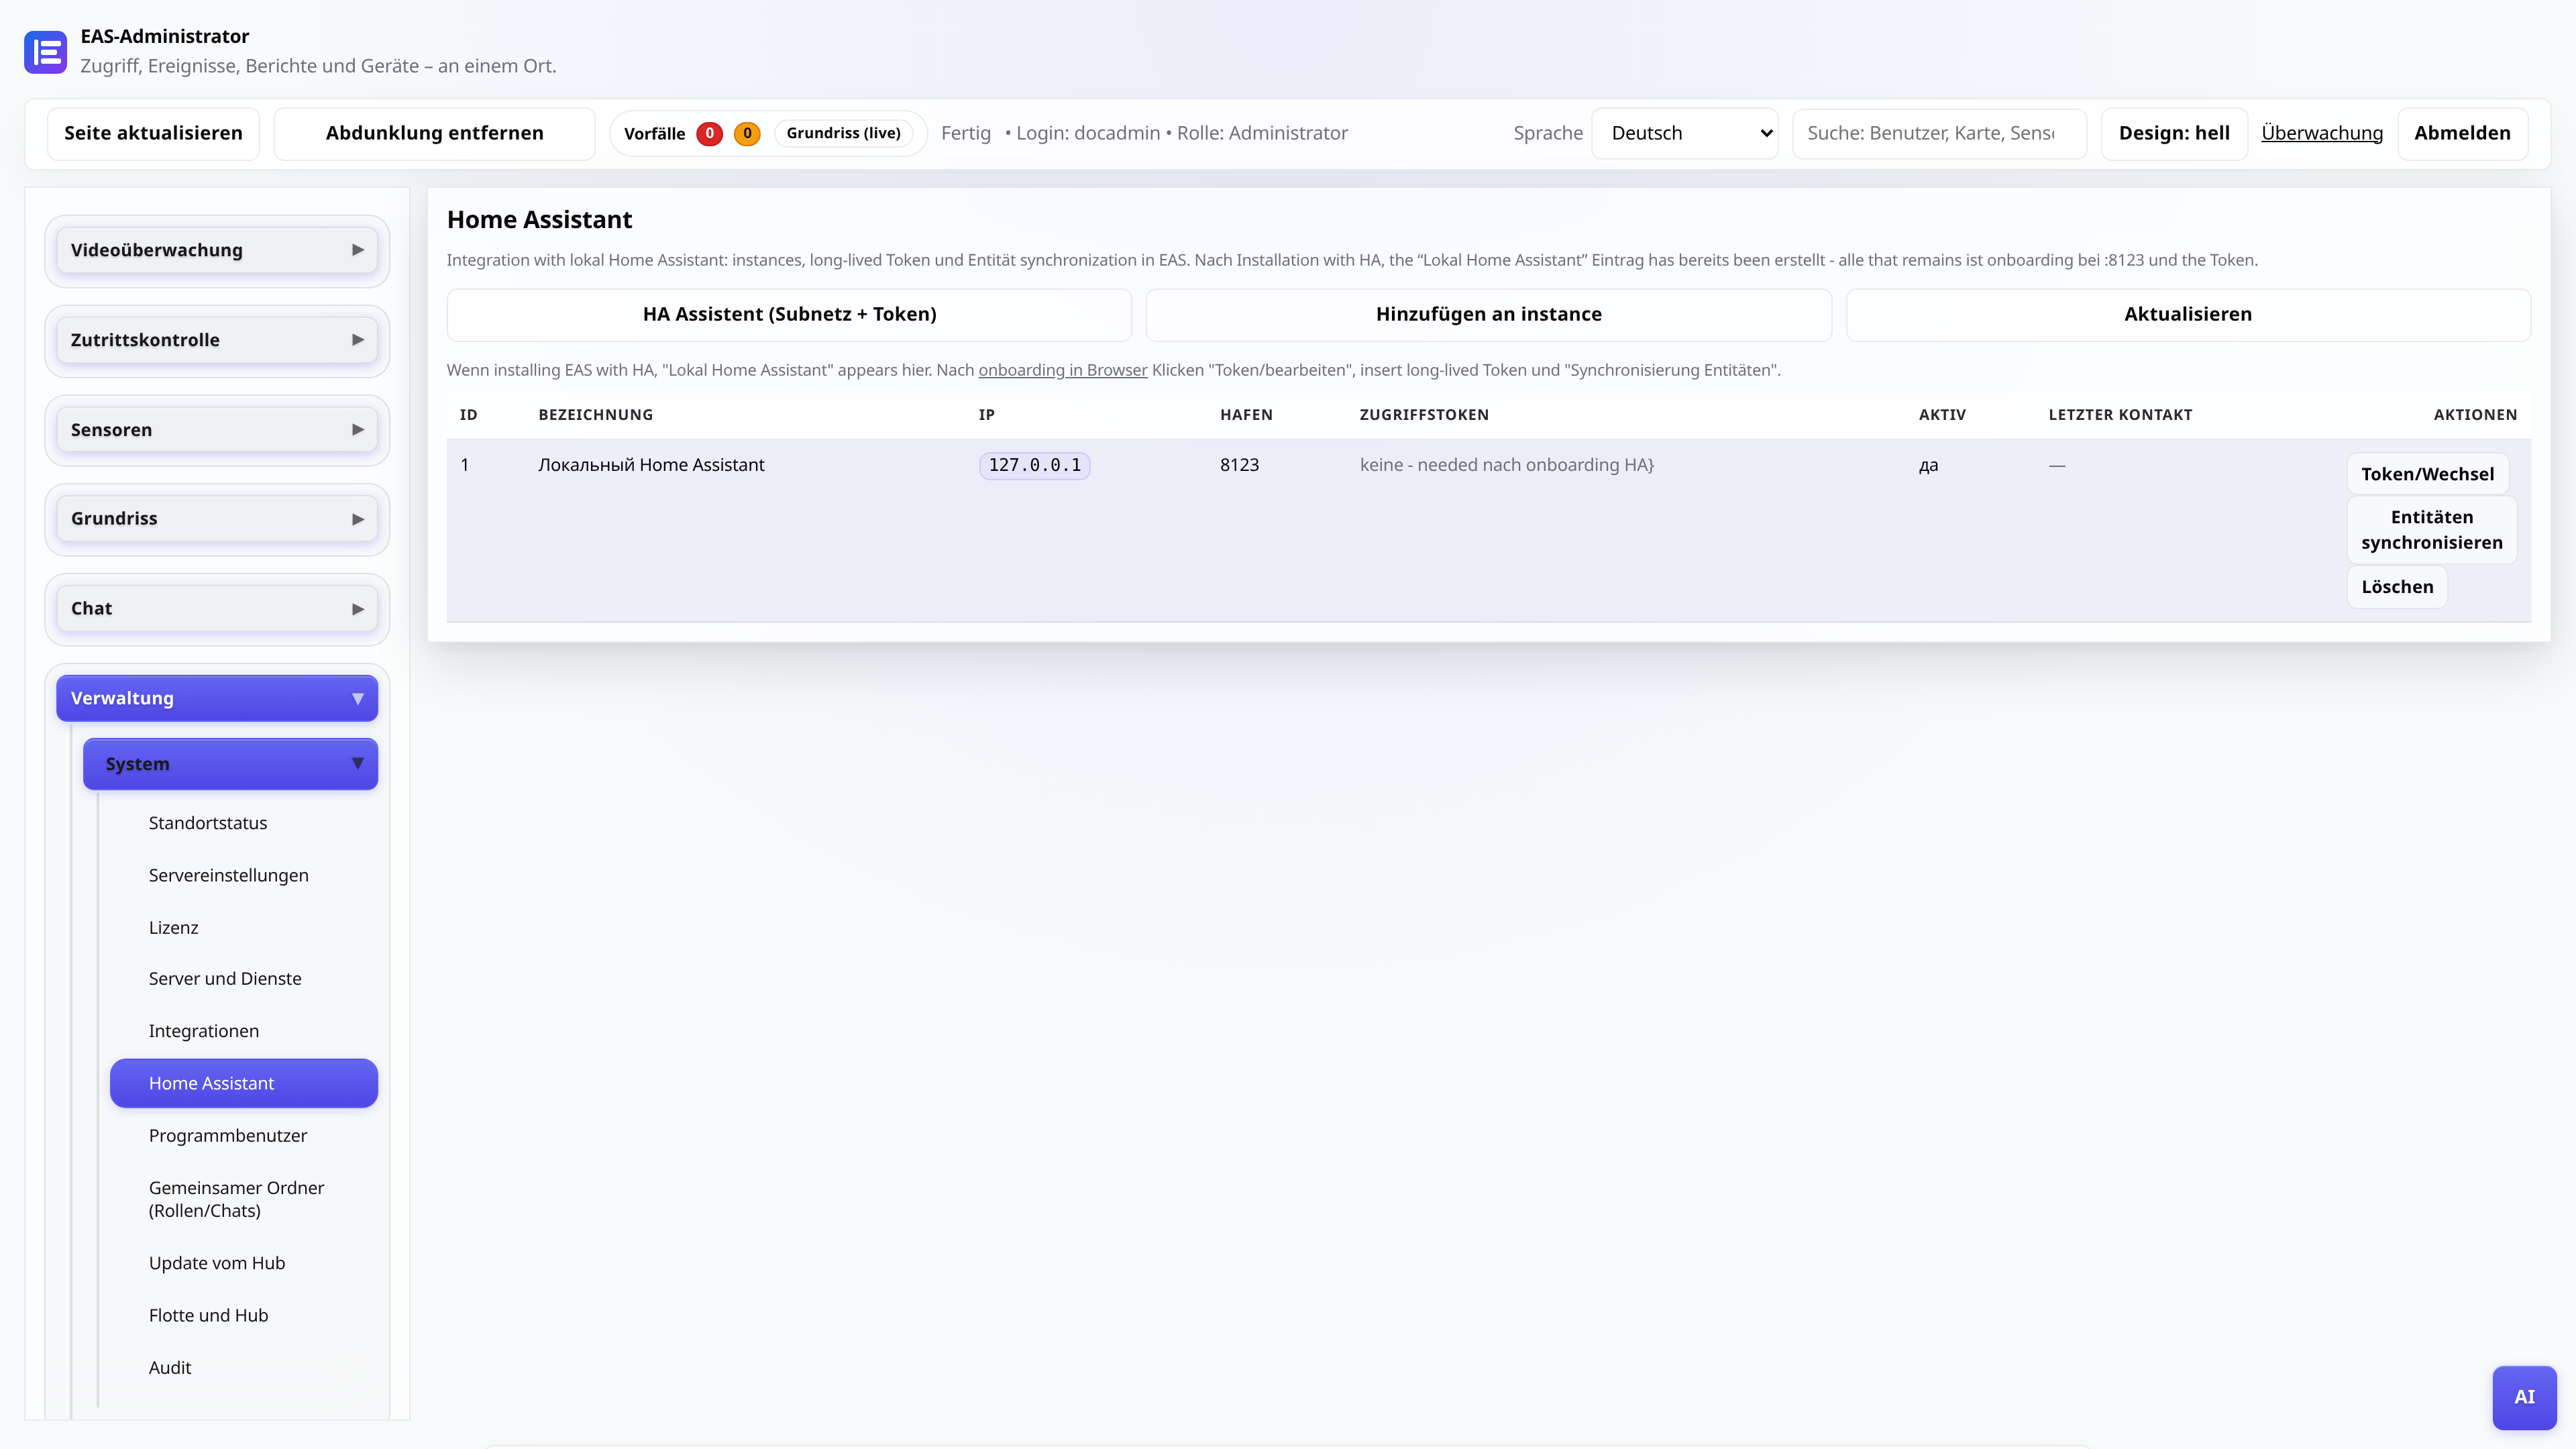
In Home Assistant: Profil → Sicherheit → Langlebige Zugriffstoken → Token erstellen. In EAS: Administration → Home Assistant → bei Lokaler Home Assistant Token / ändern → einfügen → Entitäten synchronisieren.
Tip: HA in anderem Subnetz: Schaltfläche HA-Assistent.
- 9
Server prüfen und Lizenz aktivieren
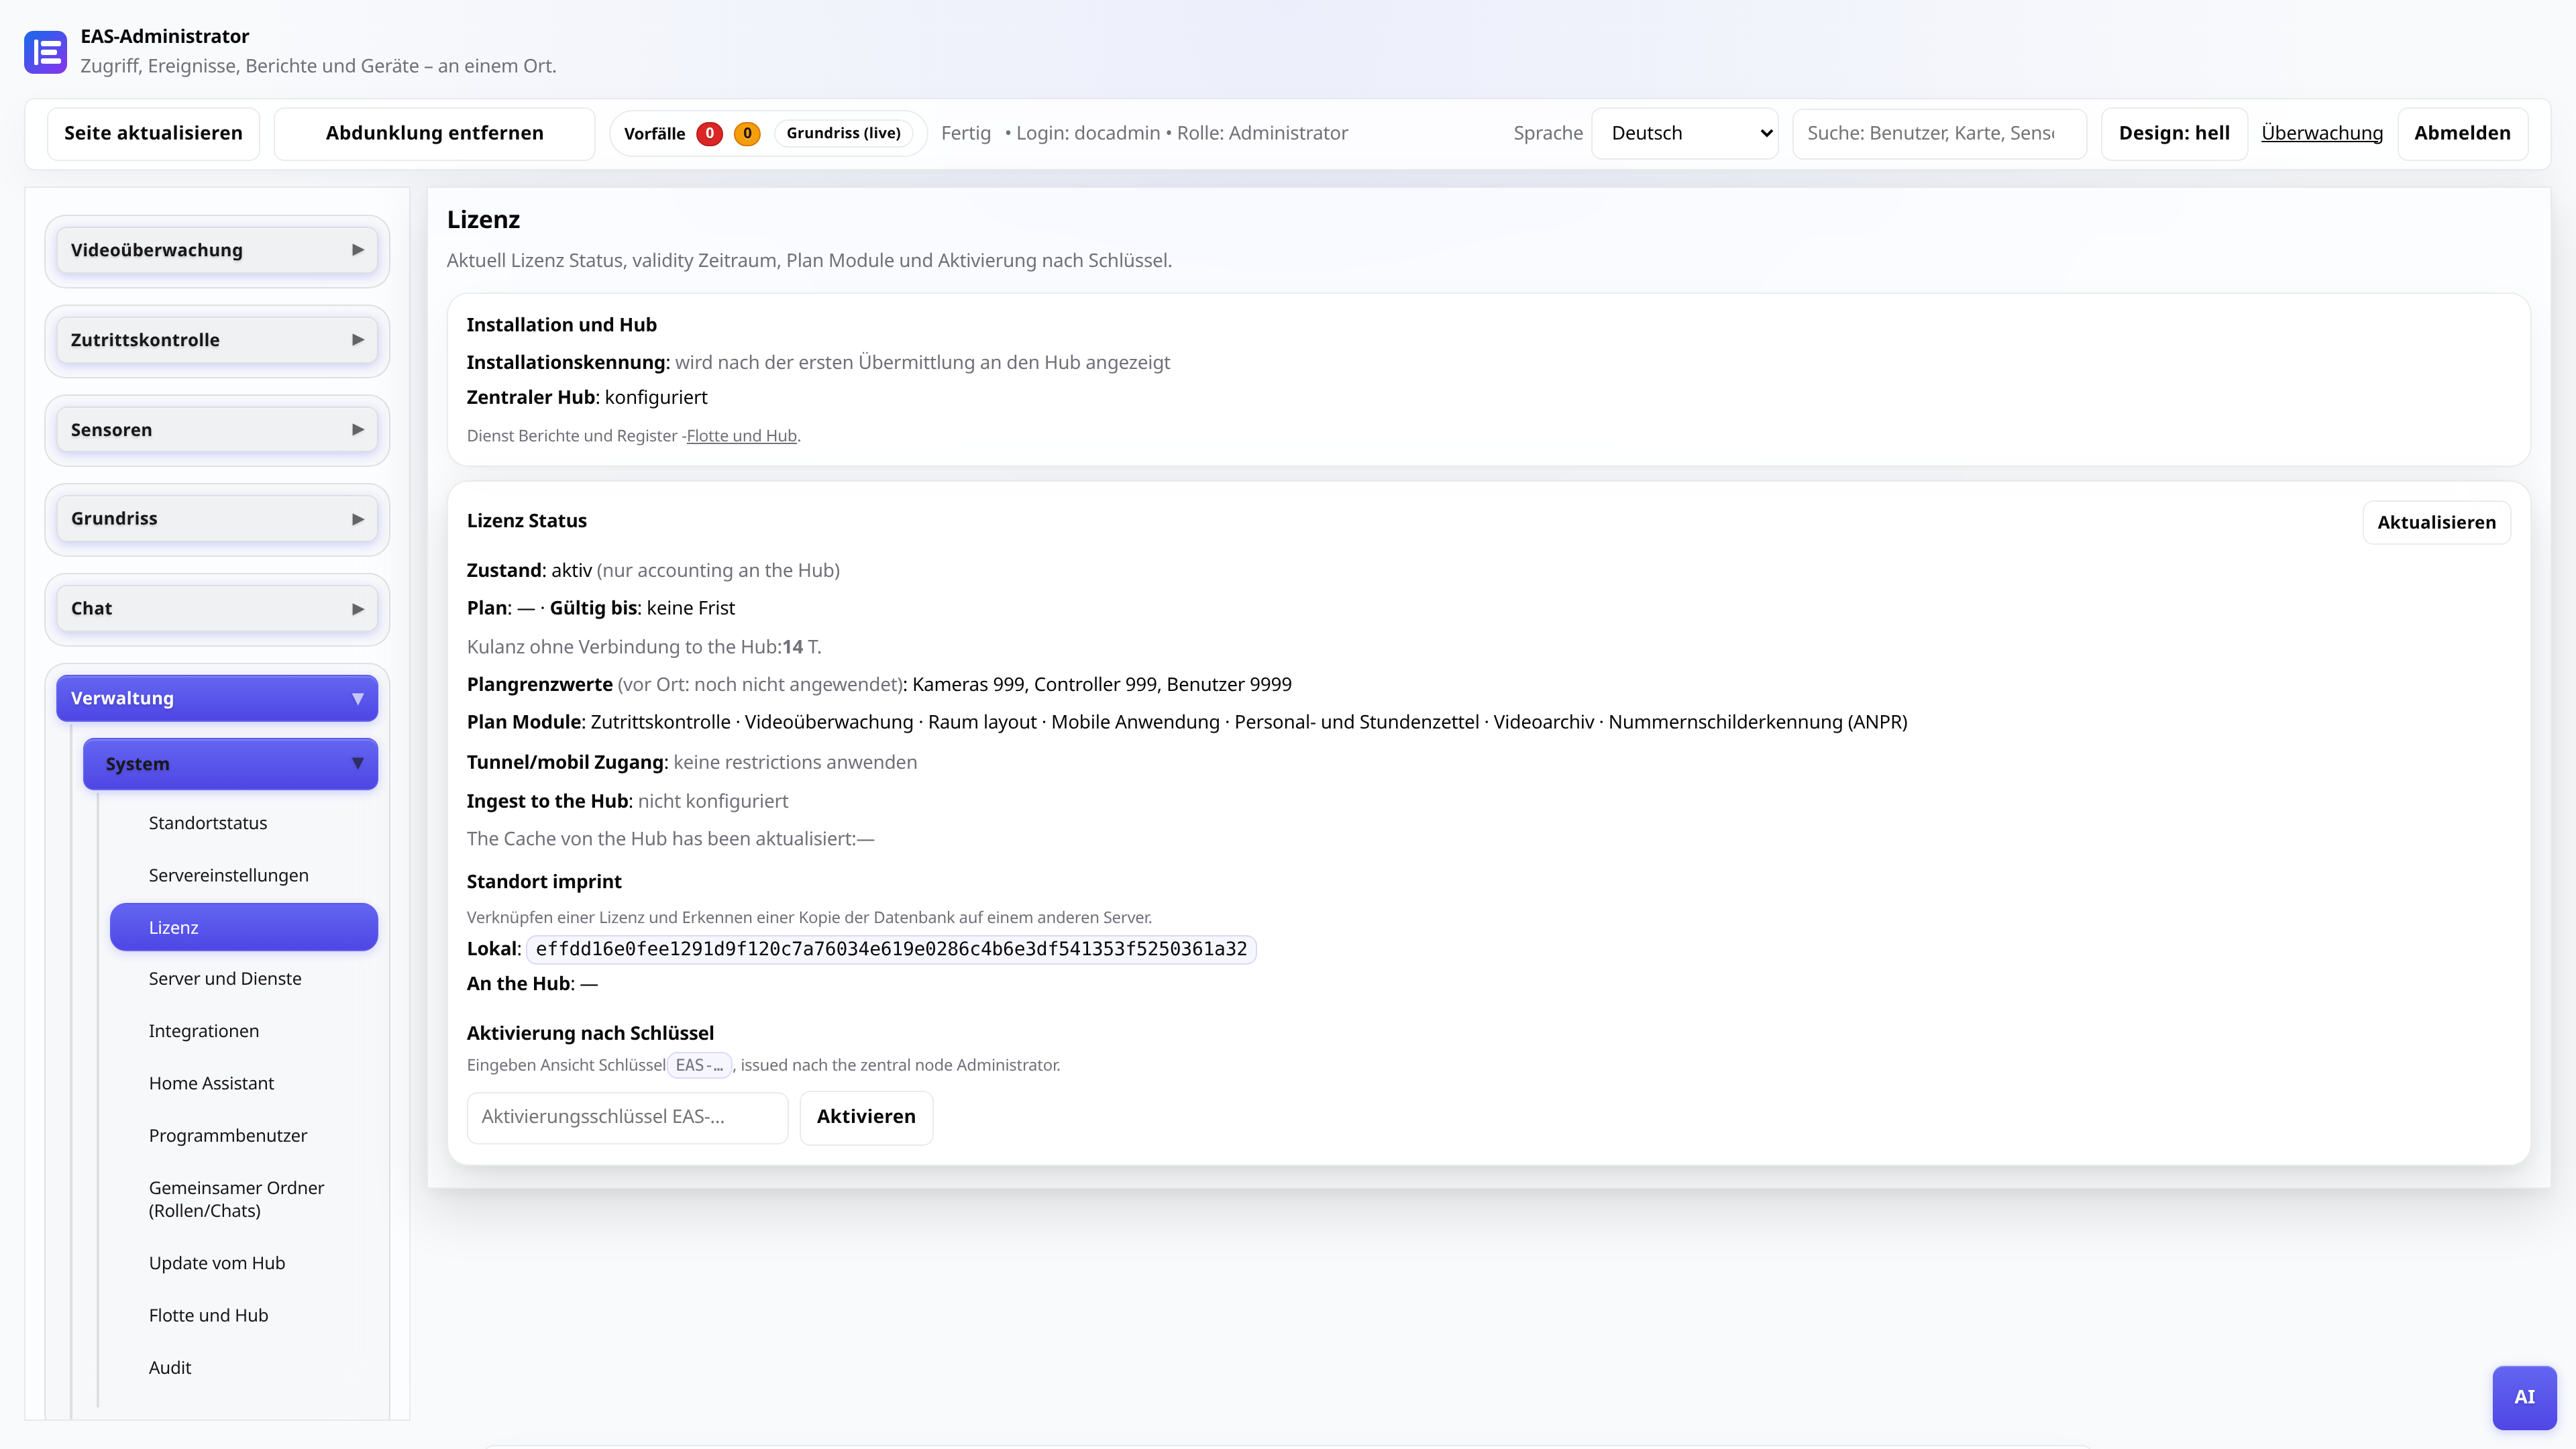
Administration → Server und Dienste — Dienst aktiv, Festplatte nicht voll. Dann Lizenz: Schlüssel einfügen und Aktivieren.
Tip: Ohne Lizenz sind Funktionen eingeschränkt. Danach Controller und Kameras anbinden.